Nutter Butter Zombie Fingers
I’ve made a lot of Halloween treats over the years, but these zombie fingers always get the most reactions. They’re creepy, fun to make, and surprisingly easy. I like that they don’t need any fancy tools or ingredients. Just some melting chocolate, cookies, and a little time.
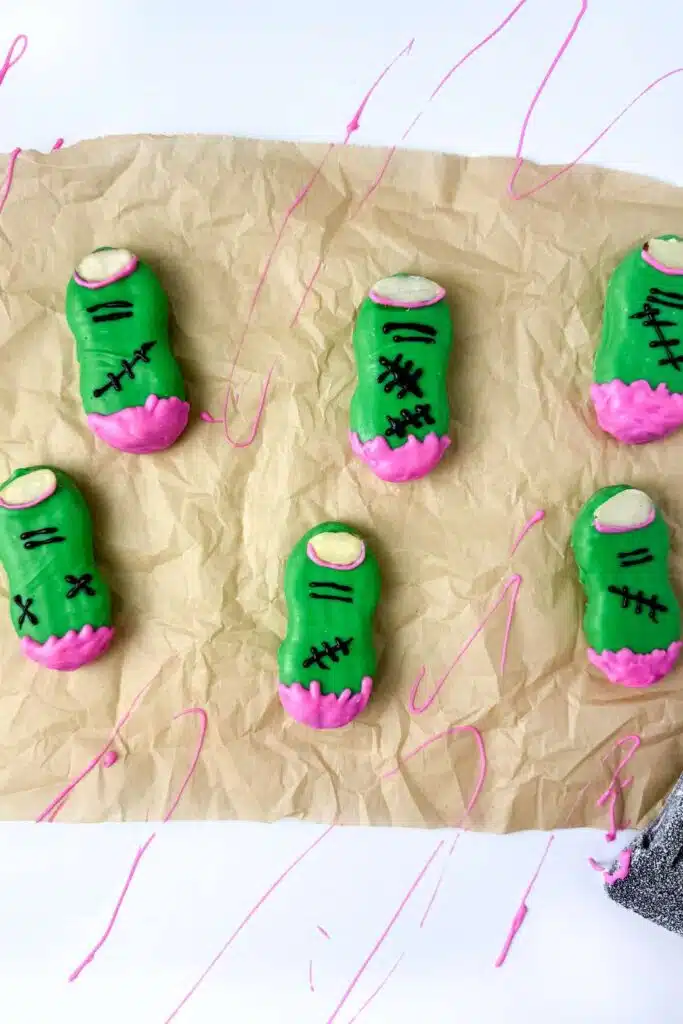
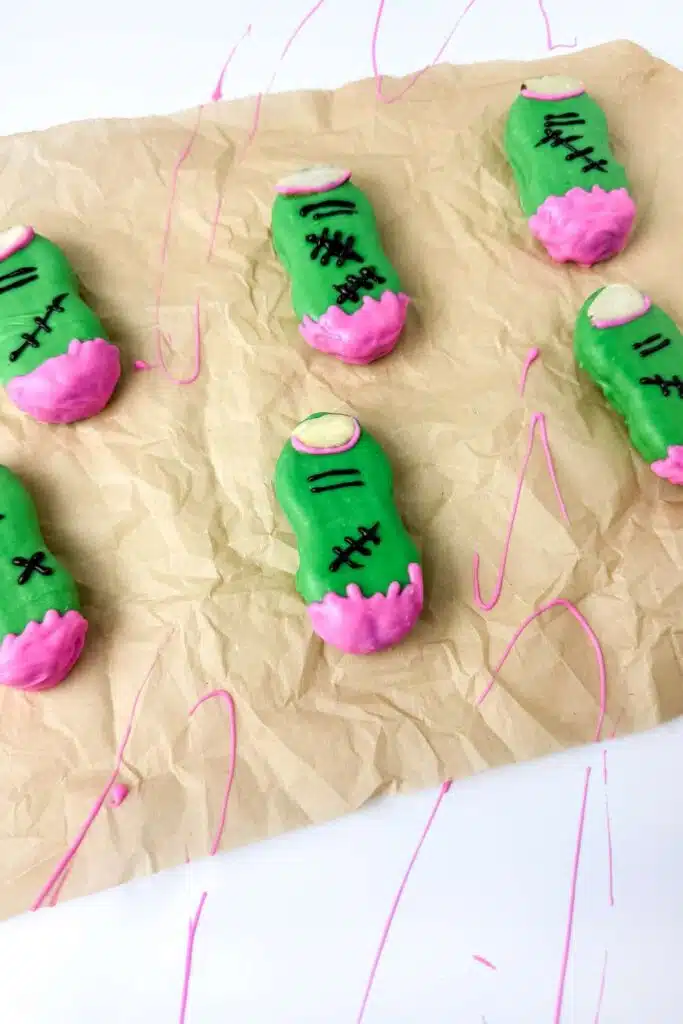
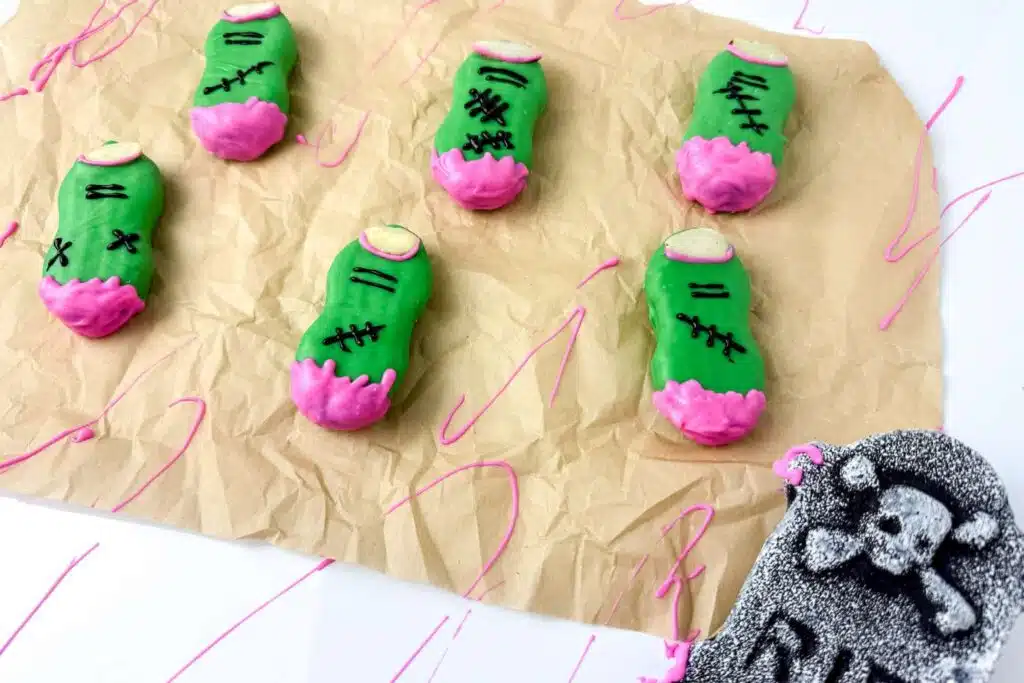
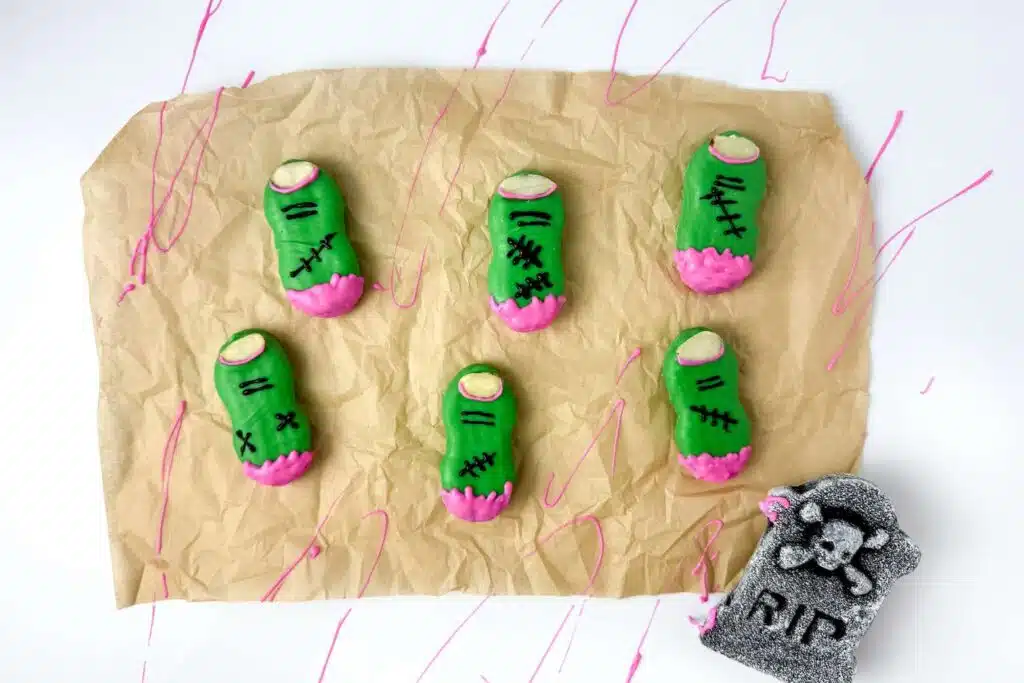
If you’re looking for halloween snacks for party ideas, this zombie recipe is a great one to try. The green fingers with black stitches and pink “bloody” edges look like they came straight from a zombie movie. This is the kind of scary food that really stands out on a Halloween table.
I usually make a batch a few days ahead of time and store them in the fridge. They’re always the first to go, especially at kids’ parties. I keep things simple, and I don’t worry too much about making them perfect. The messier, the better; that’s what makes them look like real zombie food.
Why you’ll love this recipe♡
It looks gross in a fun way but still tastes delicious.
It’s easy enough to make with kids or in a short amount of time.
It’s a perfect fit for any halloween party snacks table and gets people talking.
Ingredients you’ll need for this recipe
Servings: 10
Equipment
- piping bags
- Medium Size Microwave Safe Bowl
- Small Microwave Safe Bowls
- parchment paper
Ingredients
Step by Step Guide
1. Start by melting the green candy melts in a medium microwave-safe bowl. Microwave in 30-second intervals, stirring well between each round, until the candy is smooth and fully melted.
2. Dip each Nutter Butter cookie into the green coating, making sure it’s fully covered.
3. Using a fork, lift the cookie out of the bowl and gently tap off any excess candy. Place the coated cookies on a parchment-lined surface.
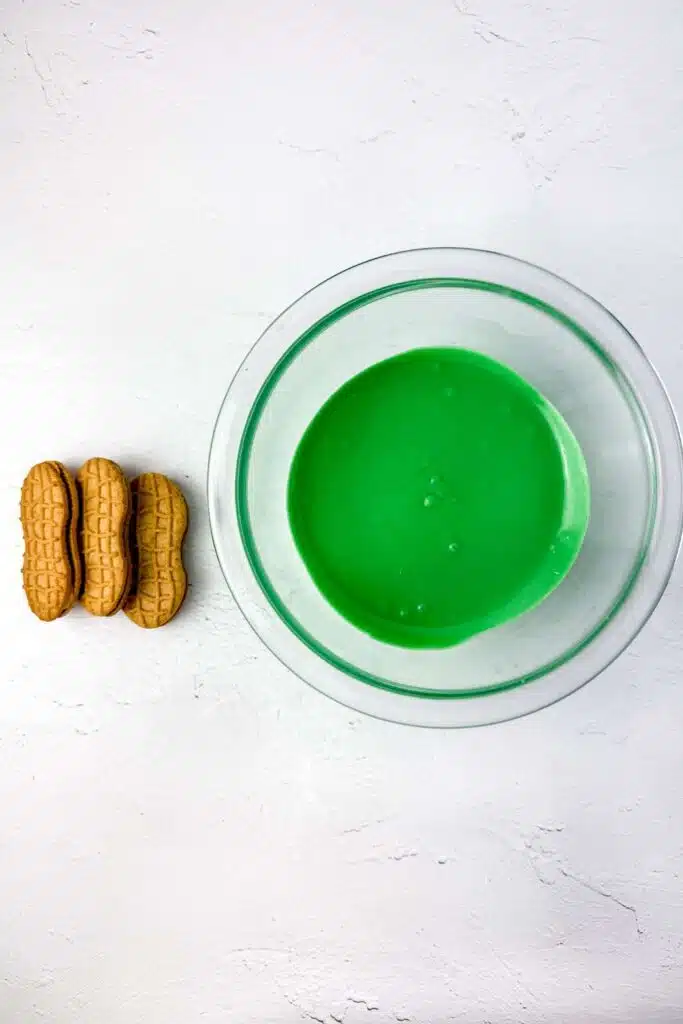
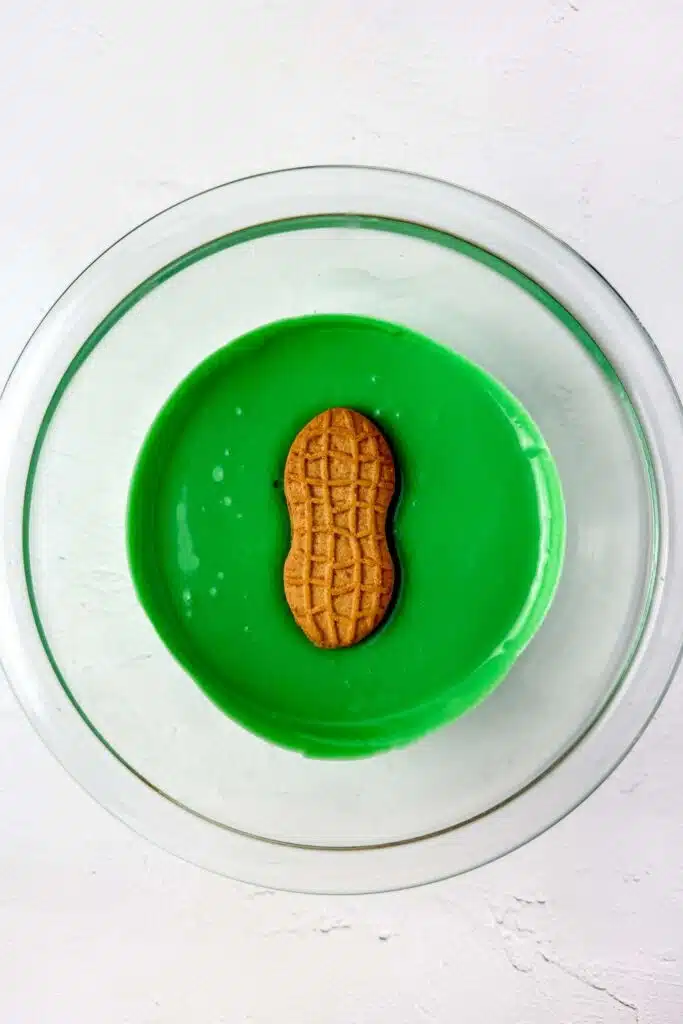
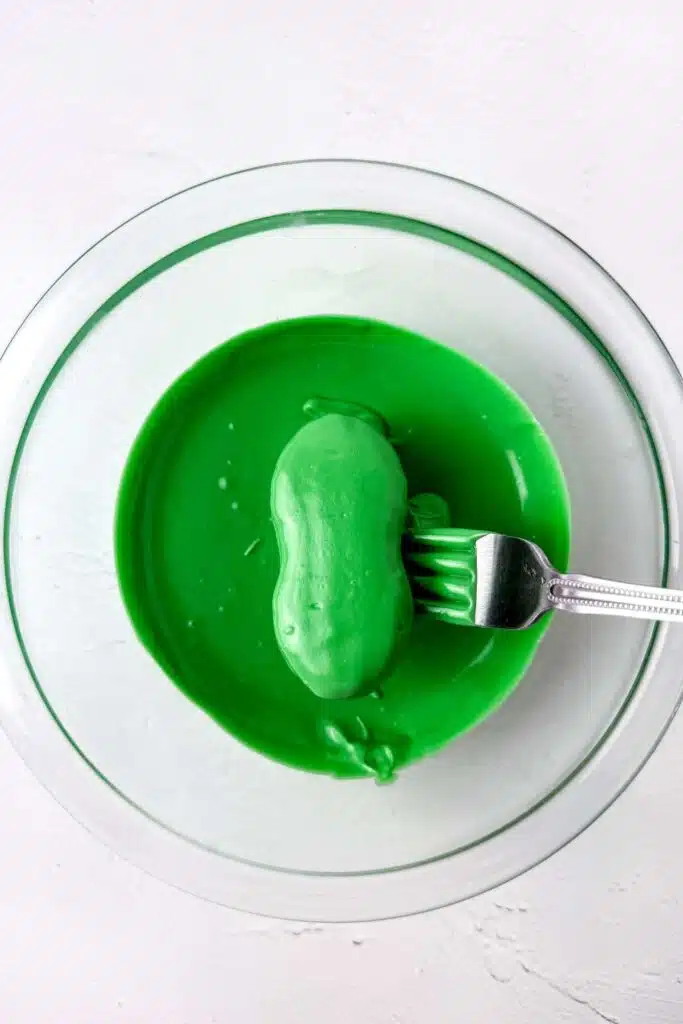
4. While the coating is still wet, press a sliced almond horizontally near the top of each cookie to resemble a fingernail.
5. Transfer all the cookies to the freezer for about 5–6 minutes so the coating can set.
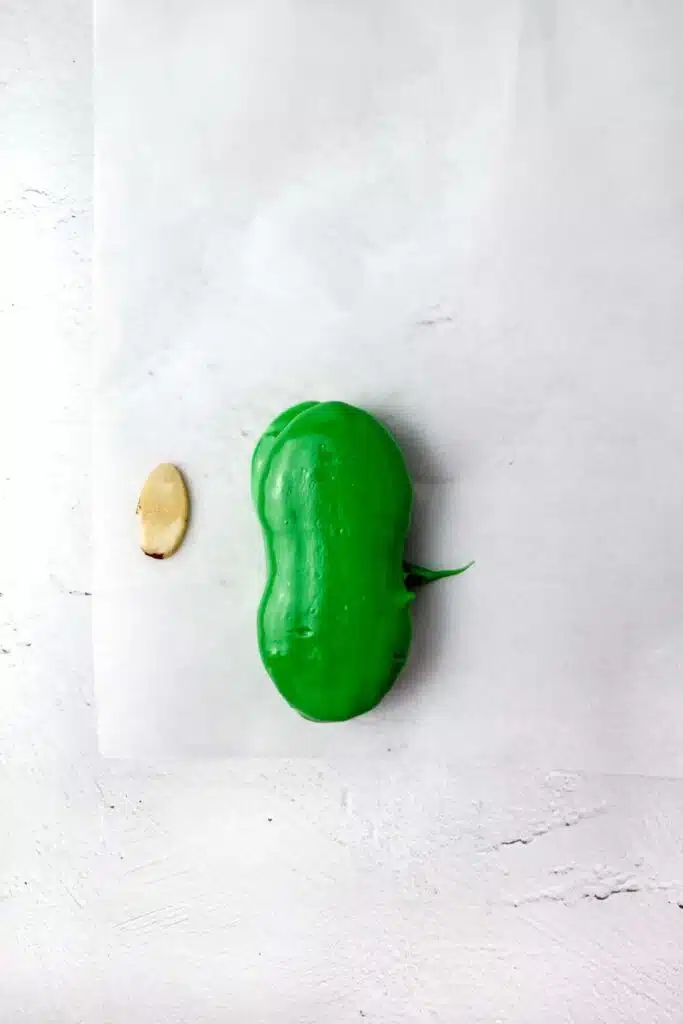
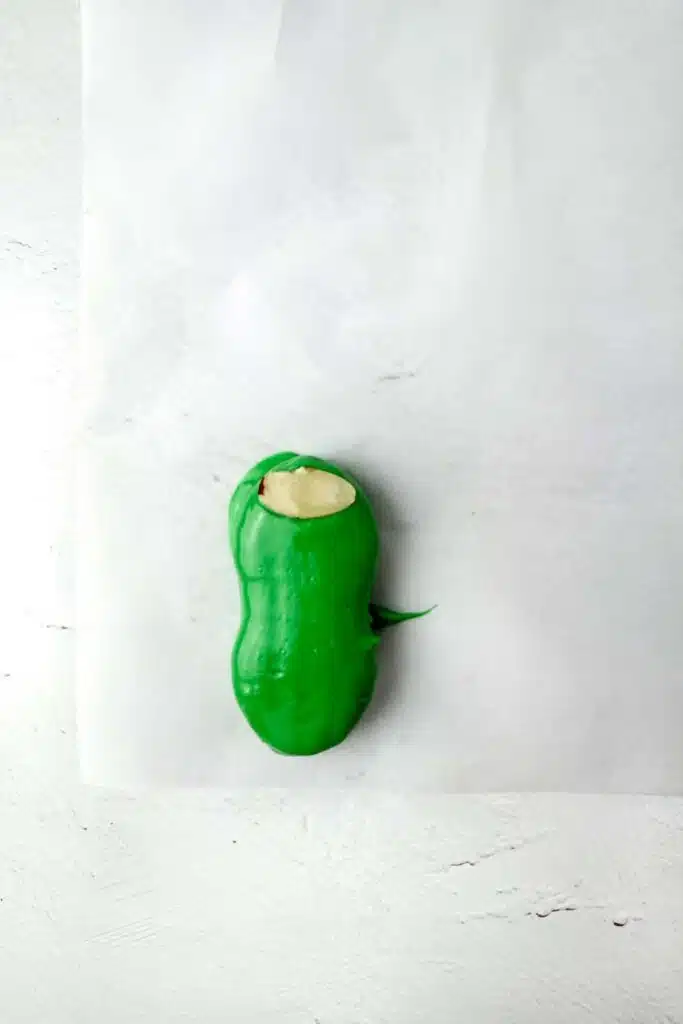
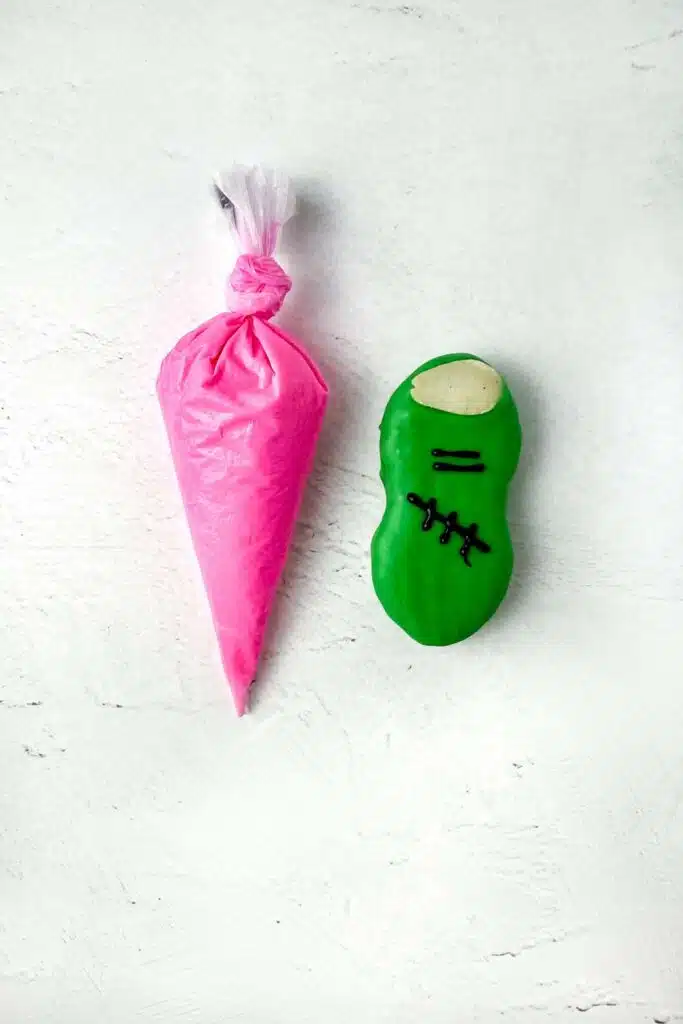
6. In the meantime, melt the black candy melts in a small bowl using the same method as before. Once melted, spoon the melted candy melts into a piping bag and snip a very small opening at the tip.
7. Pipe two horizontal lines below the almond to mimic finger joints. Then add small stitch-like lines in random spots across the cookie to create a stitched-up look.
WANT TO SAVE THIS FOR LATER?
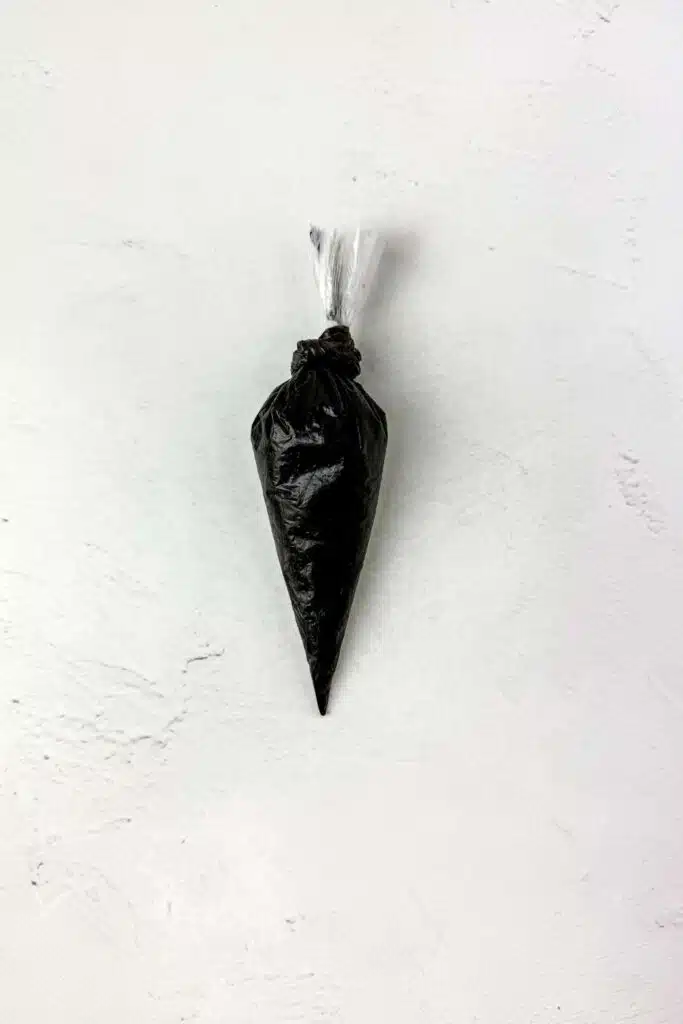
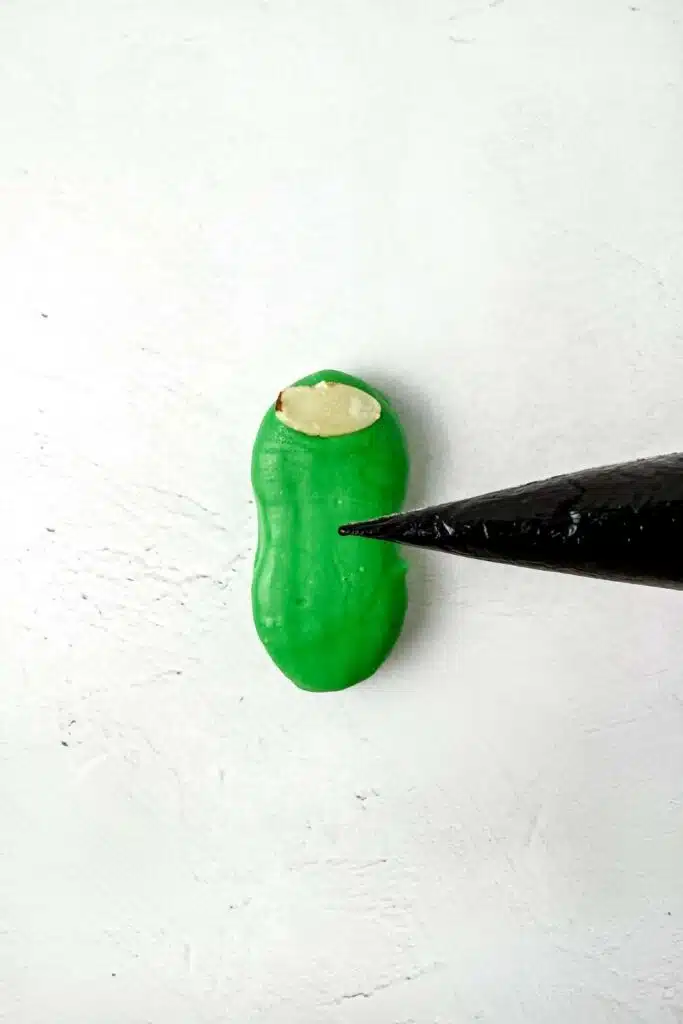
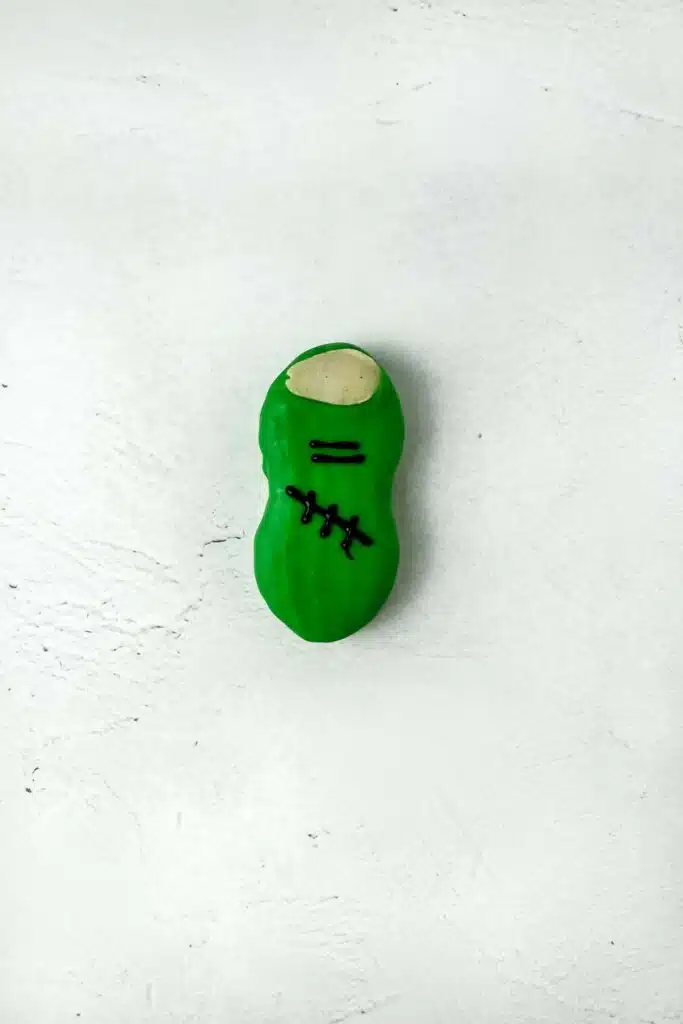
8. While the black candy melts sets, melt the pink candy melts the same way and add them to a new piping bag.
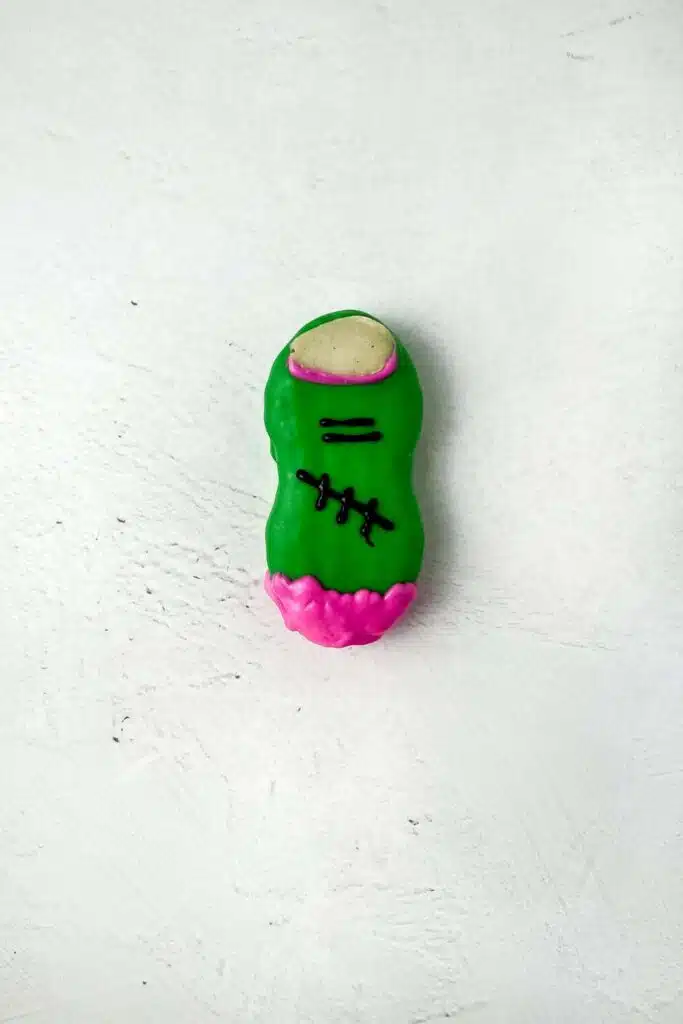
9. Pipe a pink outline just beneath the almond to enhance the nail look. Then pipe the pink candy melts over the bottom edge of the cookie to give a gory, severed appearance. Let the cookies rest for 6–8 minutes to harden completely.
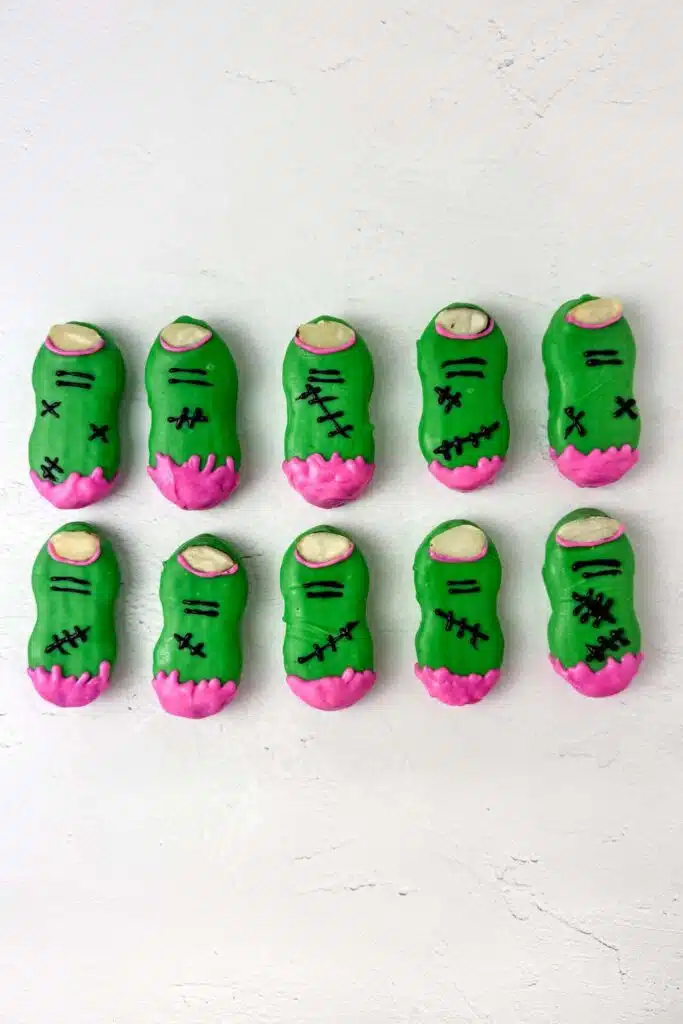
10. Once set, your spooky severed fingers are ready to serve. Enjoy!
Notes
- Store finished cookies in an airtight container at room temperature for up to 3 days, or refrigerate for up to 5 days.
- This recipe is easy to double if you’re making a bigger batch.
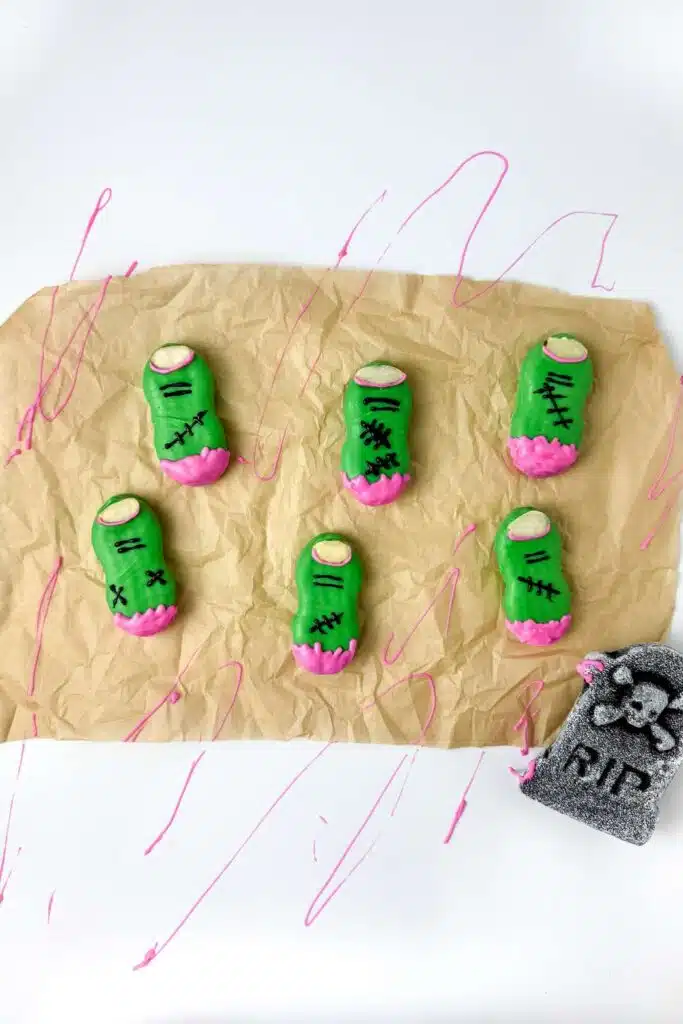
- Don’t worry about perfection; messy and uneven details add to the creepy, realistic effect!
Recipe FAQ
Q: What kind of cookies do I need to use?
A: Nutter Butters work best because of their shape, but you can also try oval or finger-shaped cookies.
Q: Can I make these zombie fingers ahead of time?
A: Yes, you can make them 2–3 days in advance and keep them in an airtight container.
Q: How should I store the finished cookies?
A: Store them in a cool, dry place for up to 3 days, or in the fridge for up to 5 days.
Q: Do I have to use a piping bag?
A: A piping bag makes things easier, but you can also use a zip-top bag with the corner cut off.
Q: Can I use regular chocolate instead of candy melts?
A: You can, but candy melts give better color and texture for decorating.
Q: What if I can’t find the colored candy melts?
A: Use white chocolate and add a few drops of green, pink or black food coloring.
Q: Can I skip the pink part?
A: Yes, but the pink “bloody” detail adds to the zombie food effect.
Q: Are these cookies safe for kids?
A: Yes, but be careful with the almond nails if serving to very young children.
Q: What can I use instead of almonds?
A: You can use sliced marshmallows or white chocolate pieces as a softer alternative.
Q: Can I make these without a microwave?
A: Yes, you can melt the chocolate in a heatproof bowl over simmering water (double boiler).
Q: Do I need to freeze them after dipping?
A: A few minutes in the freezer helps the coating set quickly, but you can also leave them at room temperature for longer.
Q: Can I double the recipe?
A: Yes, this zombie recipe doubles well if you need more halloween snacks for party guests.
Q: Will they melt if I leave them out too long?
A: They hold up well at room temperature, but avoid leaving them in a warm or sunny spot.
Q: Can I make this gluten-free?
A: Yes, use a gluten-free cookie shaped like a finger and check that your candy melts are gluten-free.
Q: Are these cookies more cute or scary?
A: That’s up to you; if you make the details messy and random, they definitely lean toward scary food!
Nutter Butter Zombie Fingers
Equipment
- piping bags
- Medium Size Microwave Safe Bowl
- Small Microwave Safe Bowls
- parchment paper
Ingredients
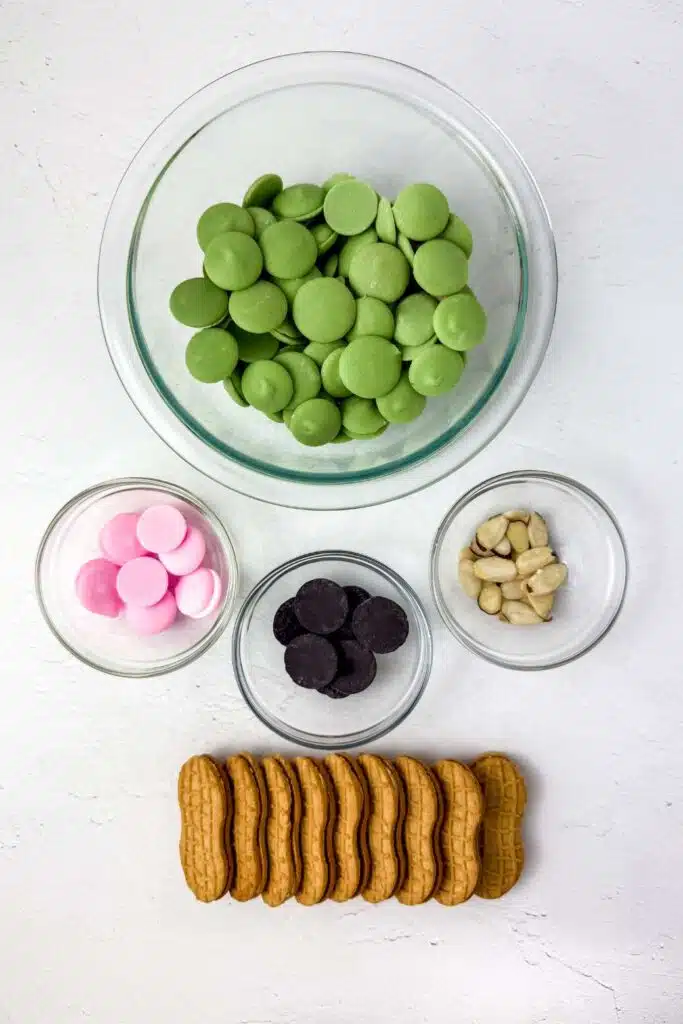
- 10 Nutter Butter cookies
- Sliced almonds
- 5 oz Green candy melts
- 1 oz Black candy melts
- 2 oz Pink candy melts
Instructions
- Start by melting the green candy melts in a medium microwave-safe bowl. Microwave in 30-second intervals, stirring well between each round, until the candy melts are smooth and fully melted.
- Dip each Nutter Butter cookie into the green coating, making sure it's fully covered.
- Using a fork, lift the cookie out of the bowl and gently tap off any excess coating. Place the coated cookies on a parchment-lined surface.
- While the coating is still wet, press a sliced almond horizontally near the top of each cookie to resemble a fingernail.
- Transfer all the cookies to the freezer for about 5–6 minutes so the coating can set.
- In the meantime, melt the black candy melts in a small bowl using the same method as before. Once melted, spoon the candy melts into a piping bag and snip a very small opening at the tip.
- Pipe two horizontal lines below the almond to mimic finger joints. Then add small stitch-like lines in random spots across the cookie to create a stitched-up look.
- While the black chocolate sets, melt the pink candy melts the same way and add them to a new piping bag.
- Pipe a pink outline just beneath the almond to enhance the nail look. Then pipe the pink melts over the bottom edge of the cookie to give a gory, severed appearance. Let the cookies rest for 6–8 minutes to harden completely.
- Once set, your spooky severed fingers are ready to serve. Enjoy!
Notes
- Store finished cookies in an airtight container at room temperature for up to 3 days, or refrigerate for up to 5 days.
- This recipe is easy to double if you’re making a bigger batch.
- Don’t worry about perfection; messy and uneven details add to the creepy, realistic effect!


