Sweetheart Bites: Delicious Valentine Cake Pops

Valentine’s Day is the perfect time to express your love with sweet and thoughtful treats. Our Valentine cake pops recipe is an ideal way to show your affection, offering a fun and delicious activity that results in charming, festive desserts.

If you’ve ever wondered how to make cake pops step by step, this guide will walk you through the process with ease. From baking your favorite cake to shaping and decorating these delightful bites, you’ll find that DIY cake pops are both simple and enjoyable to create.
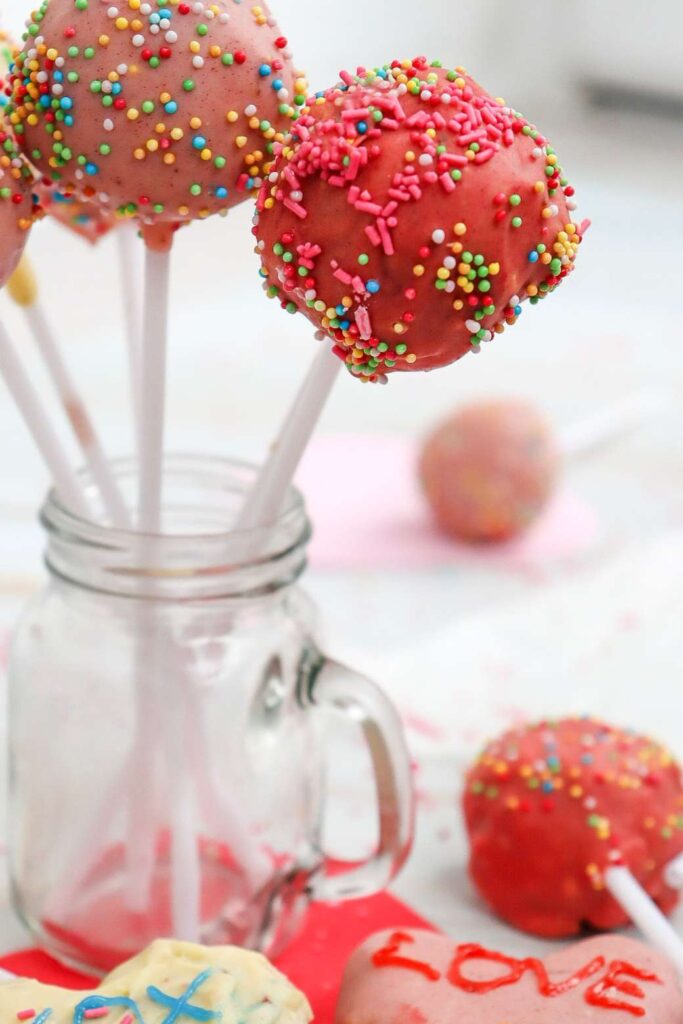
Reasons why you’ll love this recipe♡
- Using a cake mix and ready-made frosting simplifies the process, making it easy for bakers of all skill levels to create these delightful treats.
- Cake pops are great for gifting. Their cute and portable design makes them an ideal homemade gift for loved ones, adding a personal touch to your Valentine’s Day presents.
- The recipe allows for endless creativity in decorating, with various toppings, colors, and shapes. You can personalize them to match your style and preferences.

Ingredients you’ll need for this recipe
Servings: 20 cake pops
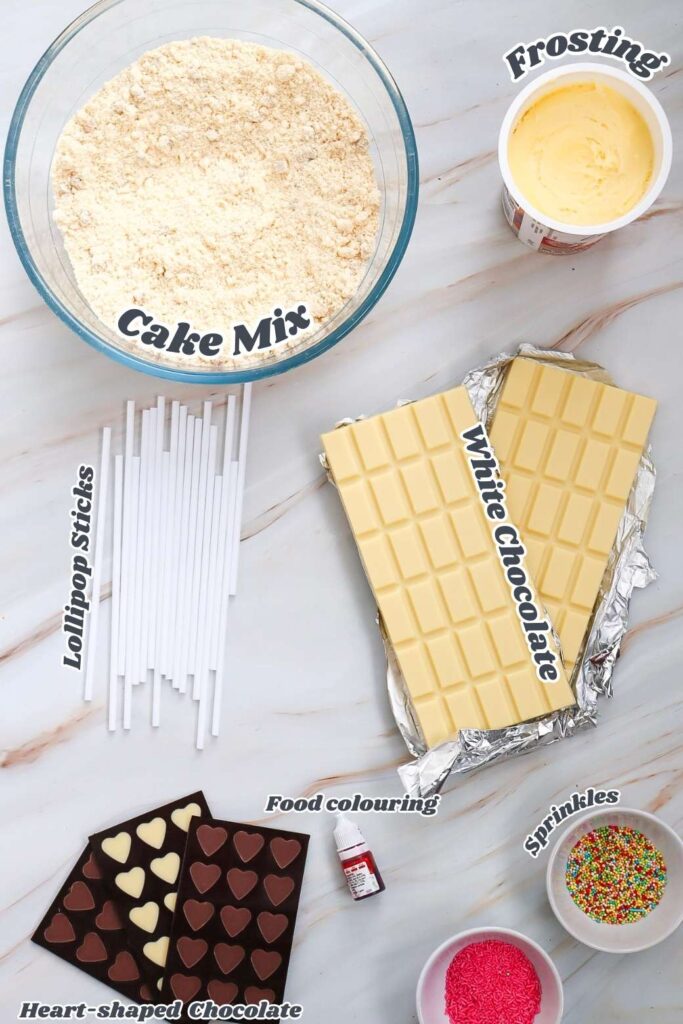
Step by Step Guide
Prepare the cake following your preferred recipe or package instructions. Let it cool completely.
After the cake has cooled, break it into small crumbs in a large mixing bowl, making sure no big chunks remain.
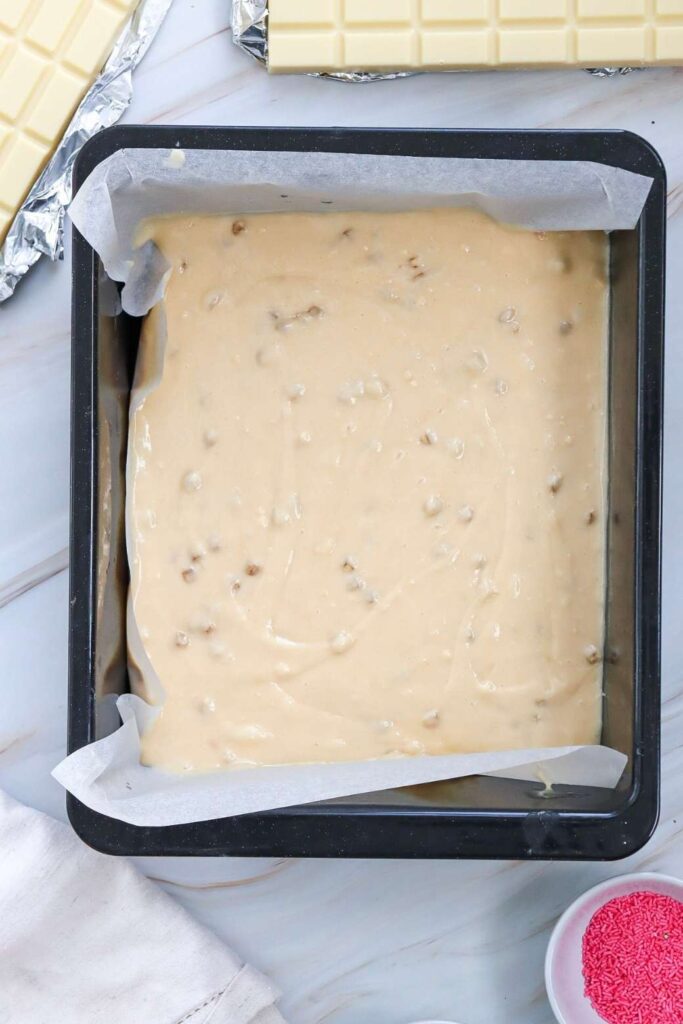
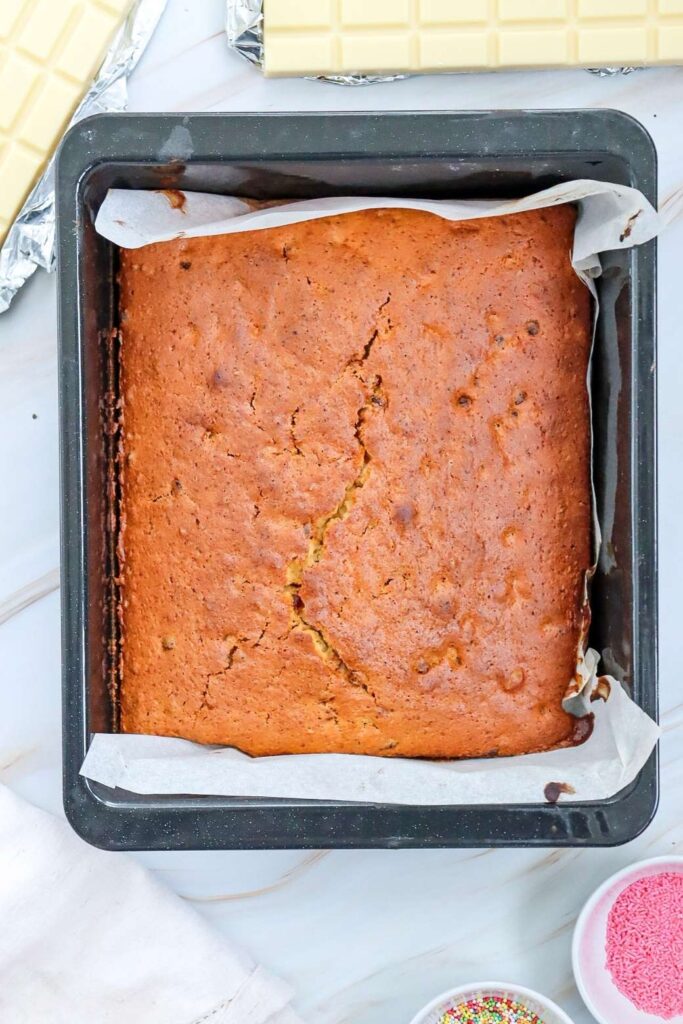
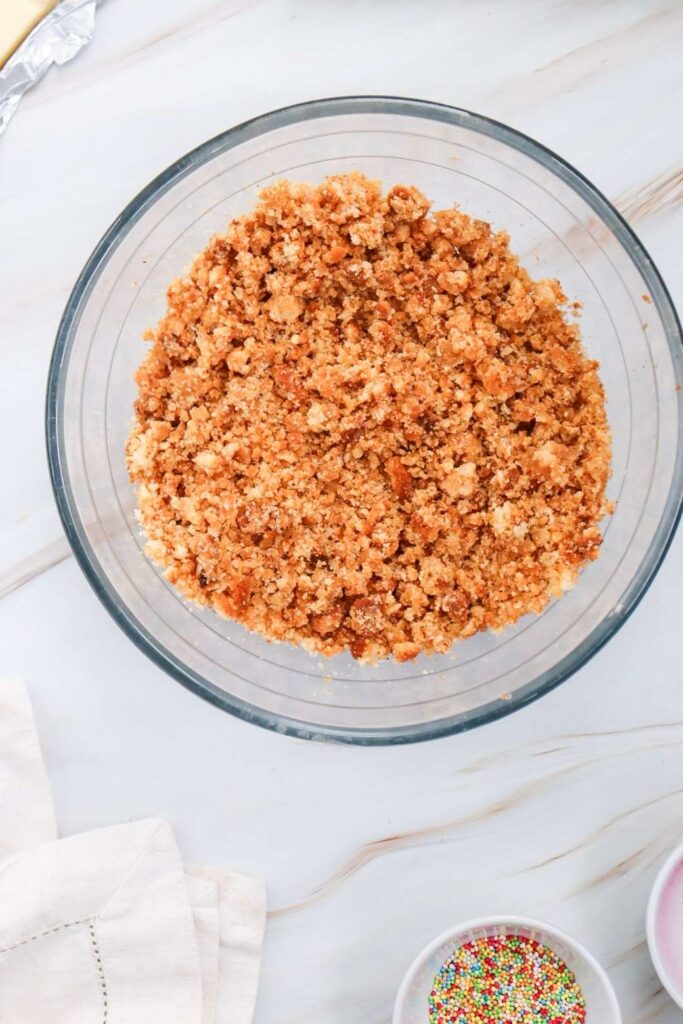
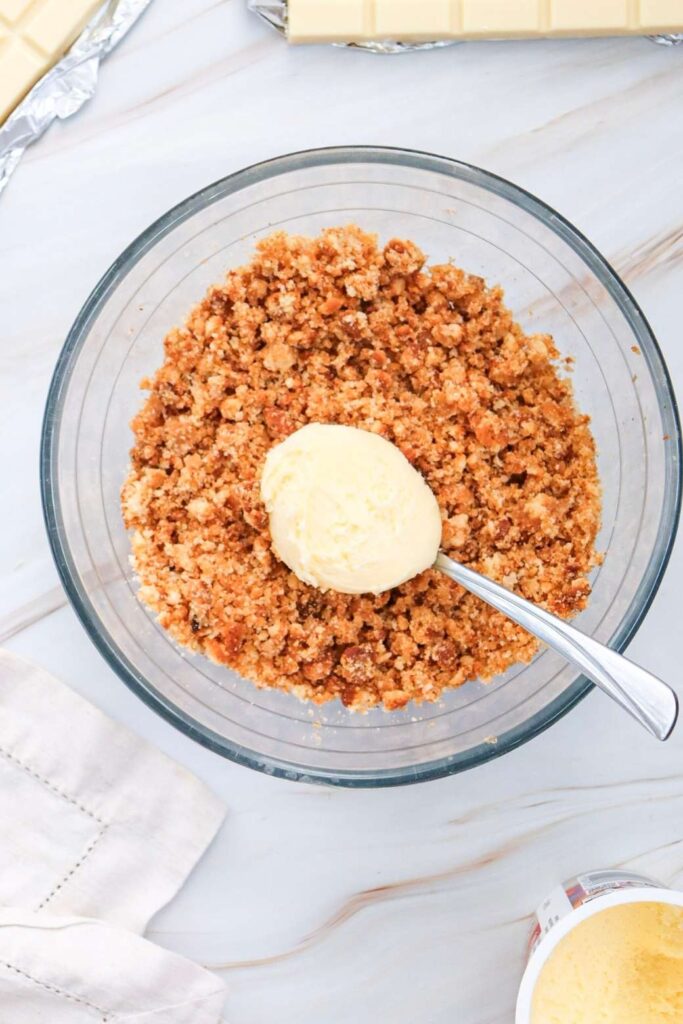
Scoop the entire tub of Betty Crocker frosting into the crumbled cake. Stir thoroughly until the mixture comes together and forms a dough that holds its shape.
With your hands, roll the mixture into small balls, approximately 1 inch in diameter. You should have around 20 balls. For a fun twist, mold some of the mixture into heart shapes instead of round ones.
Arrange the heart-shaped and round cake balls on a baking sheet lined with parchment paper. Chill them in the refrigerator for about 30 minutes to let them firm up.
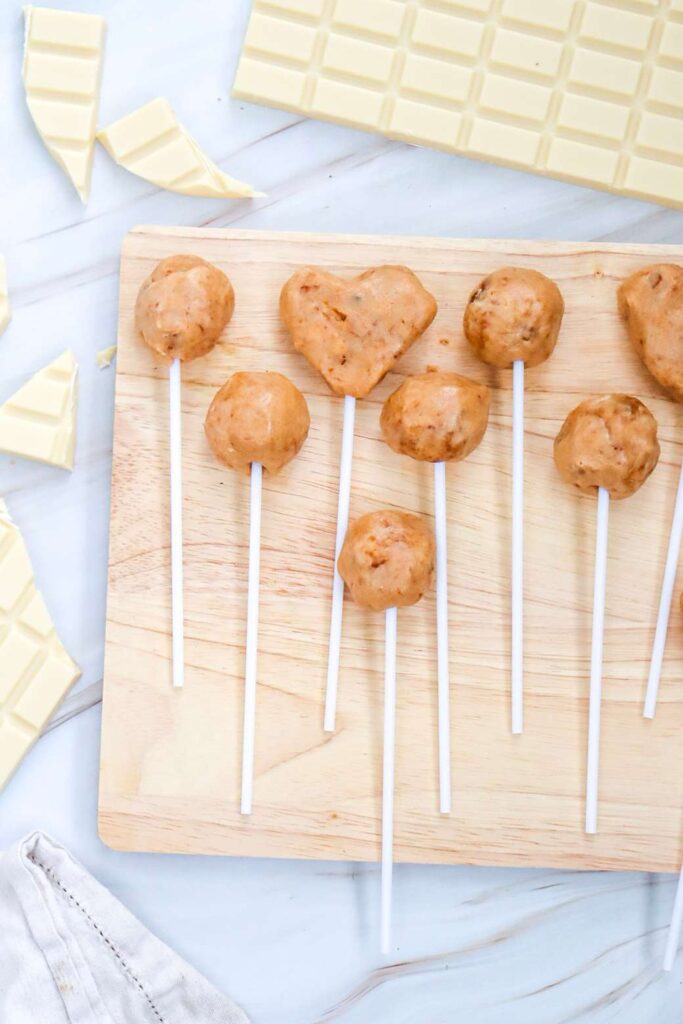
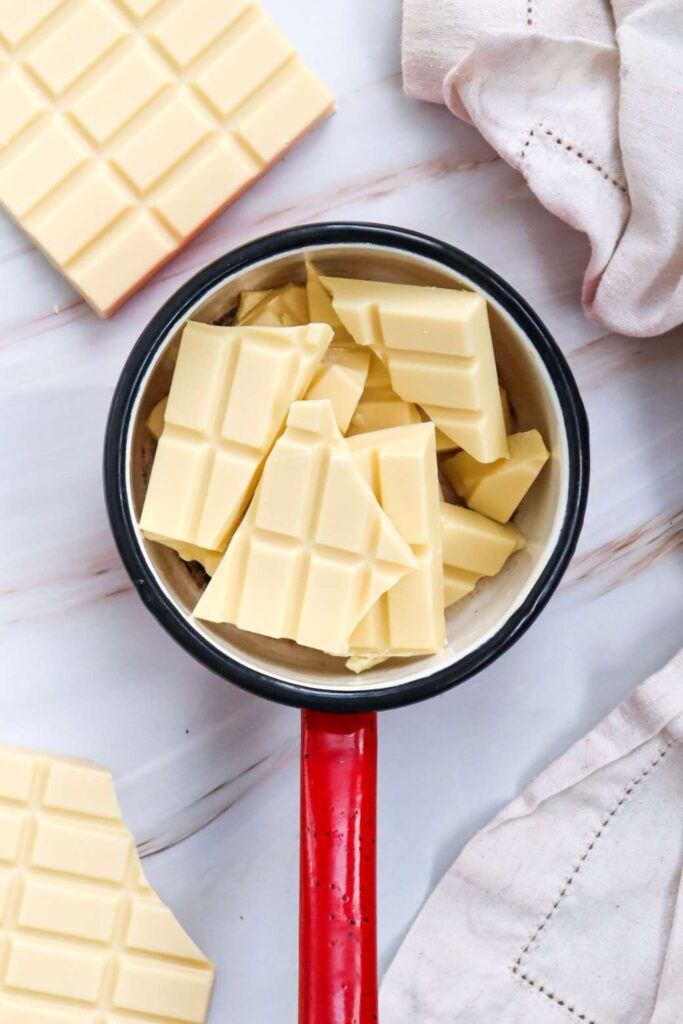
Melt approximately 1 oz of white chocolate in the microwave. Dip the tip of each lollipop stick into the melted chocolate, then carefully insert it into the center of each cake ball to help secure the stick.
Place the heart-shaped and round cake balls on a parchment-lined baking sheet. Chill in the refrigerator for about 60 minutes to let them set.
Melt the remaining 11 oz of white chocolate in a microwave-safe bowl, following the package instructions. Heat in 30-second bursts, stirring in between to avoid burning, until the chocolate is smooth.
Pour the melted white chocolate into two bowls. Keep one bowl plain for the white chocolate, and add pink food coloring to the other, stirring until you achieve your desired shade.
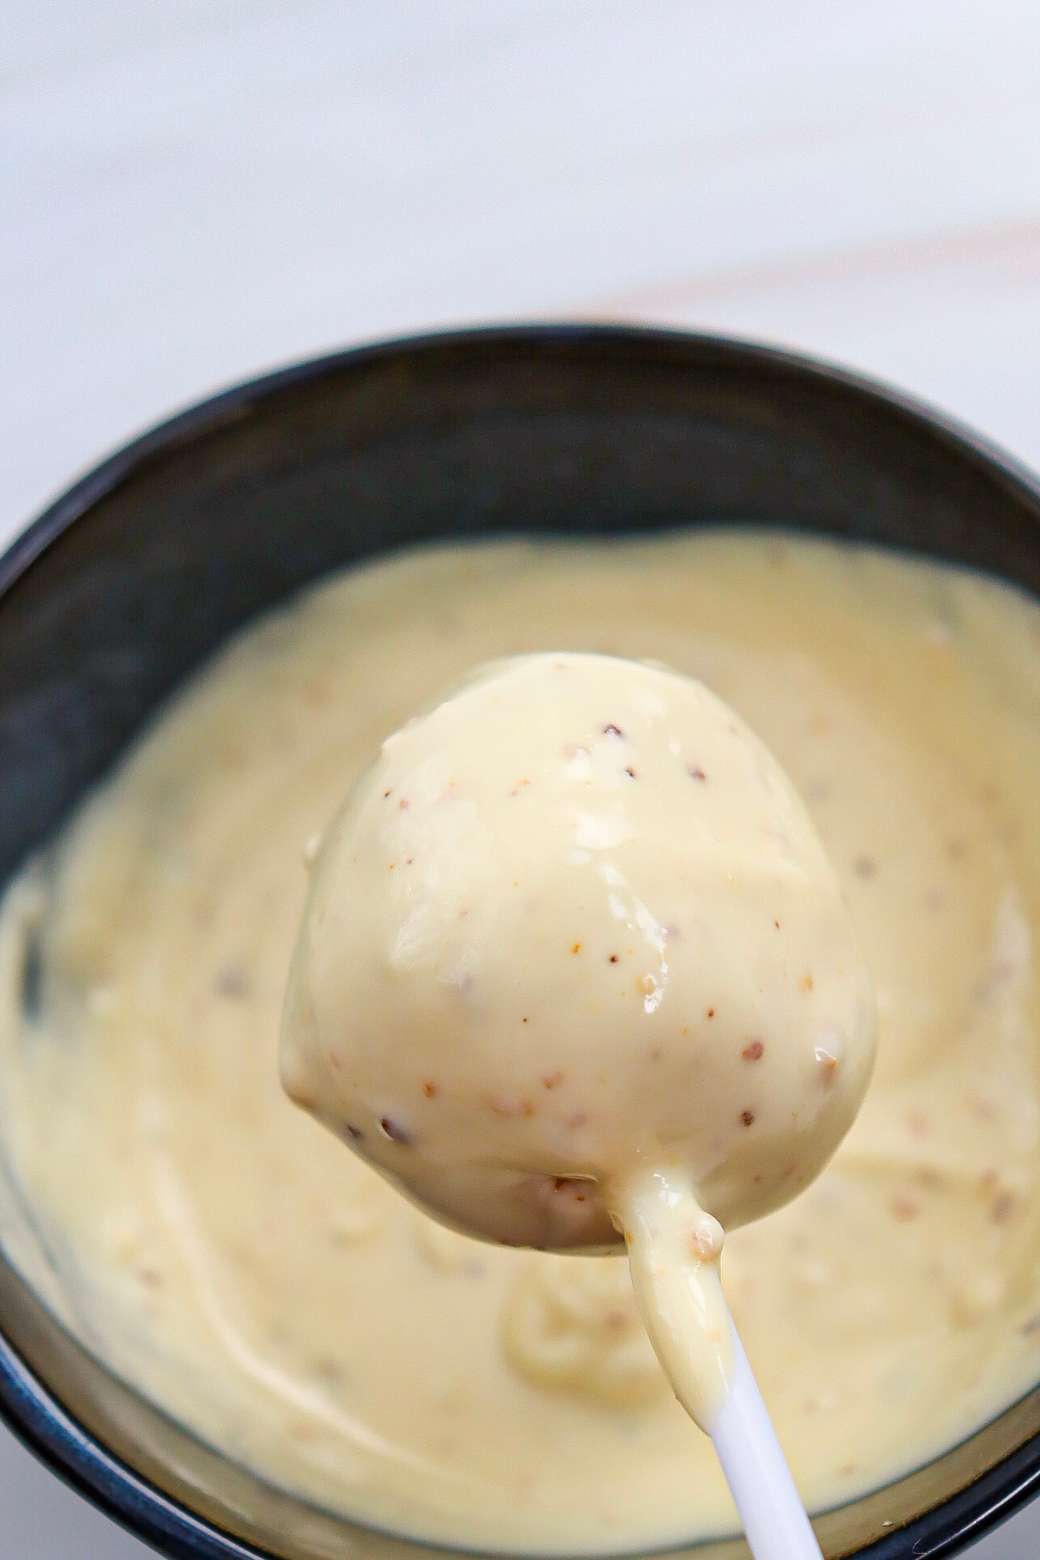
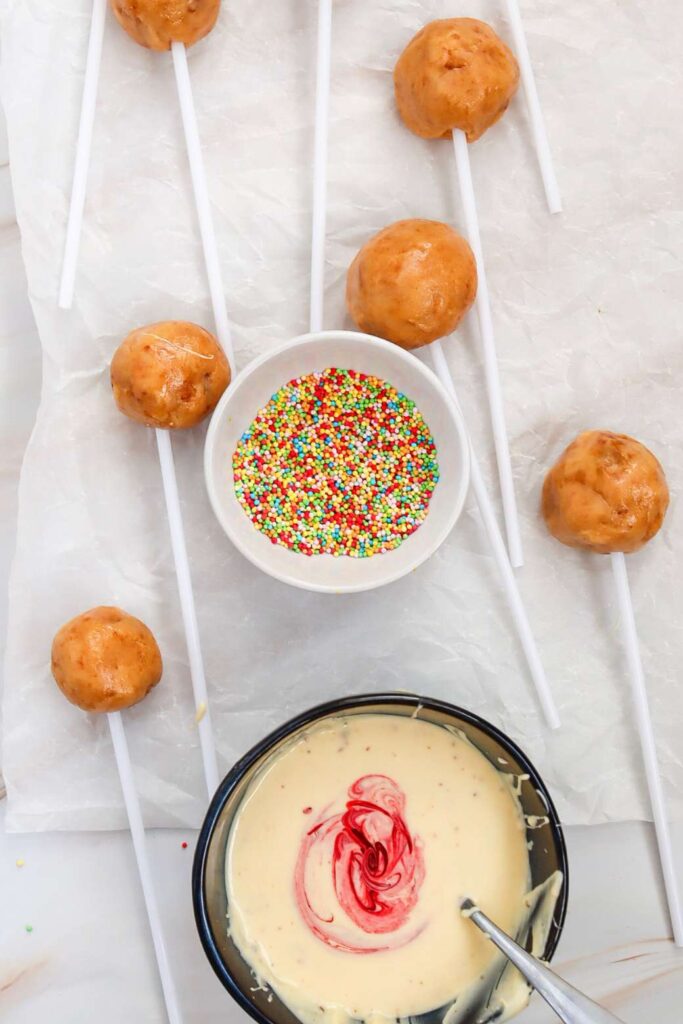
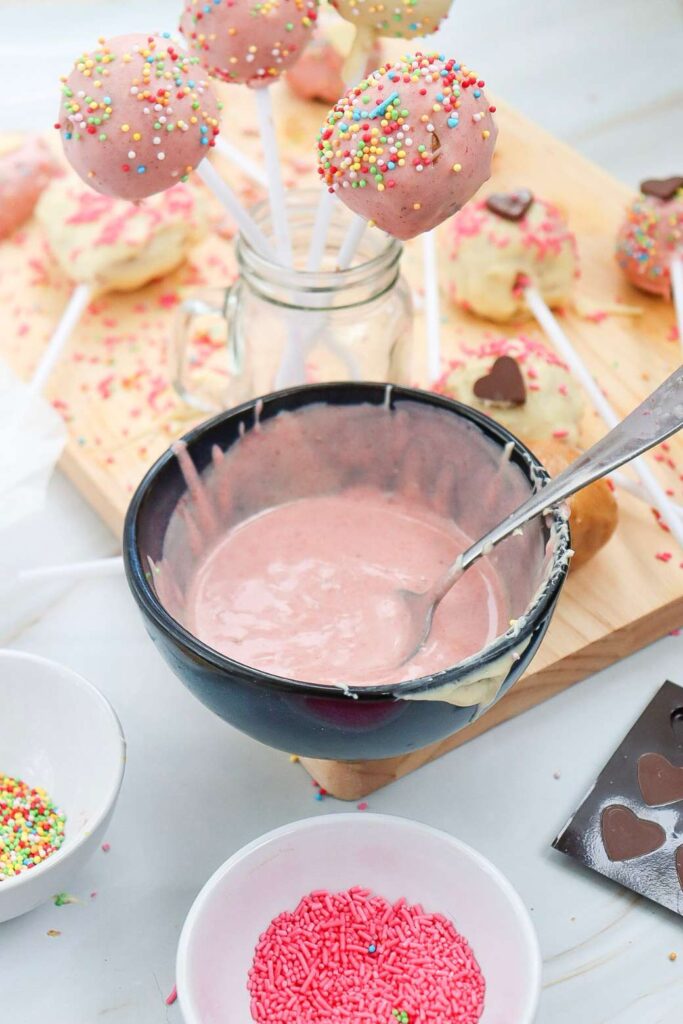
Dip some of the cake pops into the bowl of melted white chocolate, making sure they are completely coated. For the others, dip them into the pink chocolate until fully covered. Let any excess chocolate drip off.
WANT TO SAVE THIS FOR LATER?
Place the dipped cake pops back onto the lined baking sheet and let them cool at room temperature, or pop them in the fridge for 15-30 minutes until the chocolate is firm.
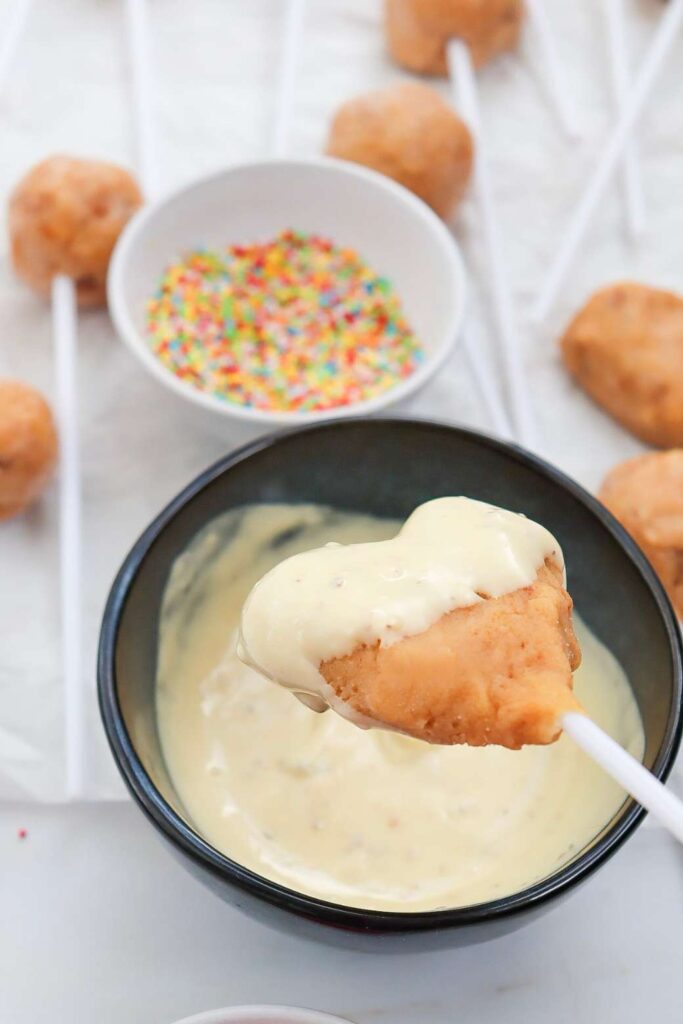
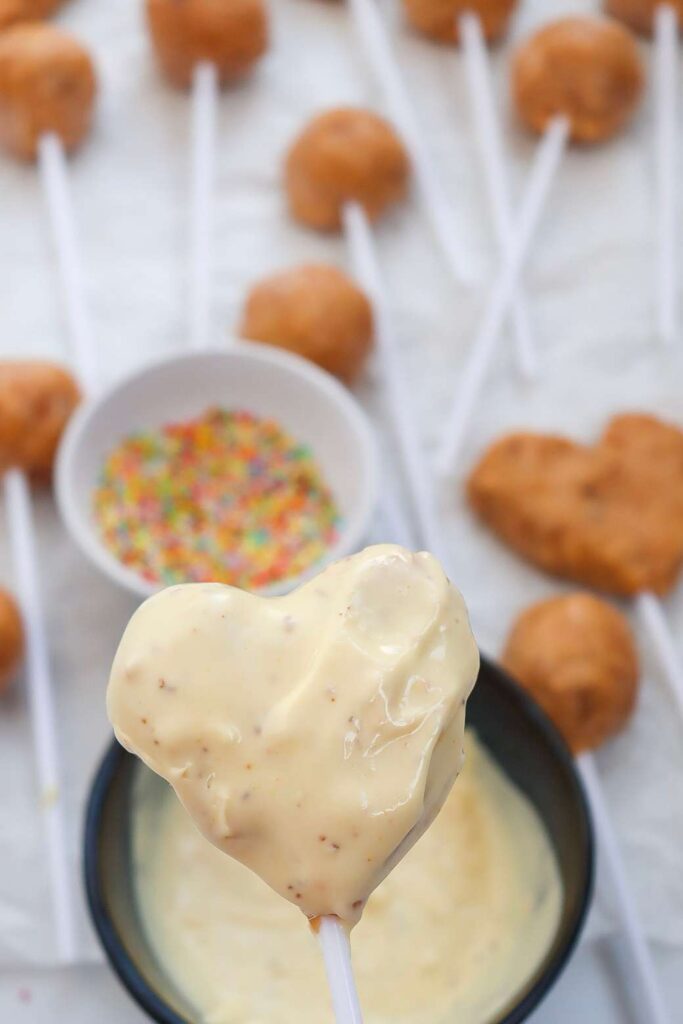

After the chocolate has hardened, decorate the cake pops with heart-shaped mini chocolates, sprinkles, or pipe sweet messages with icing. Let your creativity shine and personalize them!
Notes
You can make the cake balls ahead of time and refrigerate them for up to 2 days before dipping and decorating.

Recipe FAQ
Q: Can I use homemade frosting instead of Betty Crocker ready frosting?
A: Yes, you can use homemade frosting as long as it complements the flavor of your cake.
Q: Can I use other types of chocolate instead of white chocolate?
A: Yes, you can use milk or dark chocolate if you prefer.
Q: How do I prevent the cake pops from falling off the sticks?
A: Ensure the cake balls are firm by refrigerating them and dip the stick in melted chocolate before inserting it into the cake ball.

Q: Can I make the cake pops ahead of time?
A: Yes, you can make them a day or two in advance and store them in the refrigerator.
Q: How long do the cake pops need to chill before dipping in chocolate?
A: Chill the cake balls for about 60 minutes to ensure they are firm enough for dipping.
Q: Can I freeze the cake pops?
A: Yes, you can freeze them, but make sure to wrap them well to avoid freezer burn.
Q: What if I don’t have lollipop sticks?
A: You can use sturdy straws or wooden skewers as alternatives.
Q: How do I store the finished cake pops?
A: Store them in an airtight container in the refrigerator for up to a week.
Q: Can I use gel food coloring instead of liquid?
A: Yes, gel food coloring works well and may provide a more vibrant color.
Q: What type of sprinkles work best for decorating?
A: Any type of sprinkles can be used, but nonpareils or sanding sugar work particularly well.
Q: How do I make sure the cake pops are evenly coated in chocolate?
A: Gently tap the stick on the edge of the bowl to allow excess chocolate to drip off.
Q: Can I add flavoring to the melted chocolate?
A: Yes, you can add a few drops of flavor extract, such as vanilla or almond, to the melted chocolate.

Q: How can I make heart-shaped cake pops?
A: Use a heart-shaped mold or shape the cake mixture into hearts by hand before chilling.
Q: What if my cake mixture is too dry?
A: Add a bit more frosting to the mixture until it holds together well.
Q: Can I use other decorations besides sprinkles and heart-shaped chocolates?
A: Yes, you can use edible glitter, colored sugar, or even small candies to decorate your cake pops.

Valentine cake pops
Ingredients
- 1 cake mix, (pick your favourite one)
- 20 lollipop sticks
- 12 oz white chocolate chips (or melting white chocolate)
- 15.6 oz Betty Crocker ready frosting (any flavour that complements your cake)
- pink or red food colouring
- 2 tbsp sprinkles of your choice
- heart-shaped chocolates or icing for decoration
- writing icing (optional)
Instructions
- Prepare the cake following your preferred recipe or package instructions. Let it cool completely.
- After the cake has cooled, break it into small crumbs in a large mixing bowl, making sure no big chunks remain.
- Scoop the entire tub of Betty Crocker frosting into the crumbled cake. Stir thoroughly until the mixture comes together and forms a dough that holds its shape.
- With your hands, roll the mixture into small balls, approximately 1 inch in diameter. You should have around 20 balls. For a fun twist, mold some of the mixture into heart shapes instead of round ones.
- Arrange the heart-shaped and round cake balls on a baking sheet lined with parchment paper. Chill them in the refrigerator for about 30 minutes to let them firm up.
- Melt approximately 1 oz of white chocolate in the microwave. Dip the tip of each lollipop stick into the melted chocolate, then carefully insert it into the center of each cake ball to help secure the stick.
- Place the heart-shaped and round cake balls on a parchment-lined baking sheet. Chill in the refrigerator for about 60 minutes to let them set.
- Melt the remaining 11 oz of white chocolate in a microwave-safe bowl, following the package instructions. Heat in 30-second bursts, stirring in between to avoid burning, until the chocolate is smooth.
- Pour the melted white chocolate into two bowls. Keep one bowl plain for the white chocolate, and add pink food coloring to the other, stirring until you achieve your desired shade.
- Dip some of the cake pops into the bowl of melted white chocolate, making sure they are completely coated. For the others, dip them into the pink chocolate until fully covered. Let any excess chocolate drip off.
- Place the dipped cake pops back onto the lined baking sheet and let them cool at room temperature, or pop them in the fridge for 15-30 minutes until the chocolate is firm.
- After the chocolate has hardened, decorate the cake pops with heart-shaped mini chocolates, sprinkles, or pipe sweet messages with icing. Let your creativity shine and personalize them!
Notes
WANT TO SAVE THIS FOR LATER?
