Independence Rice Krispie Treats
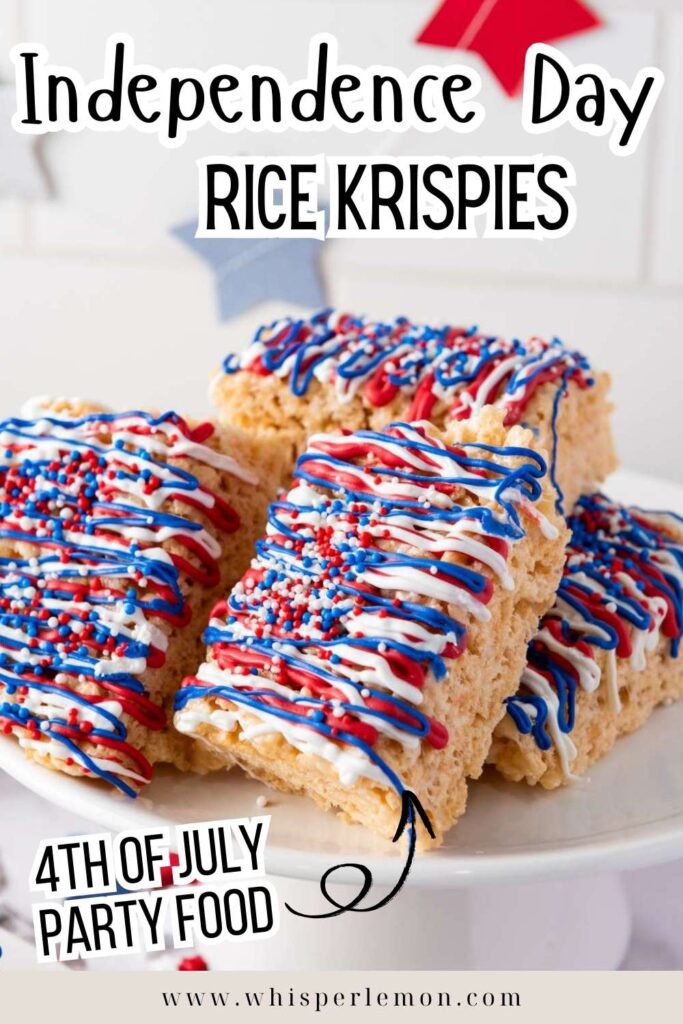
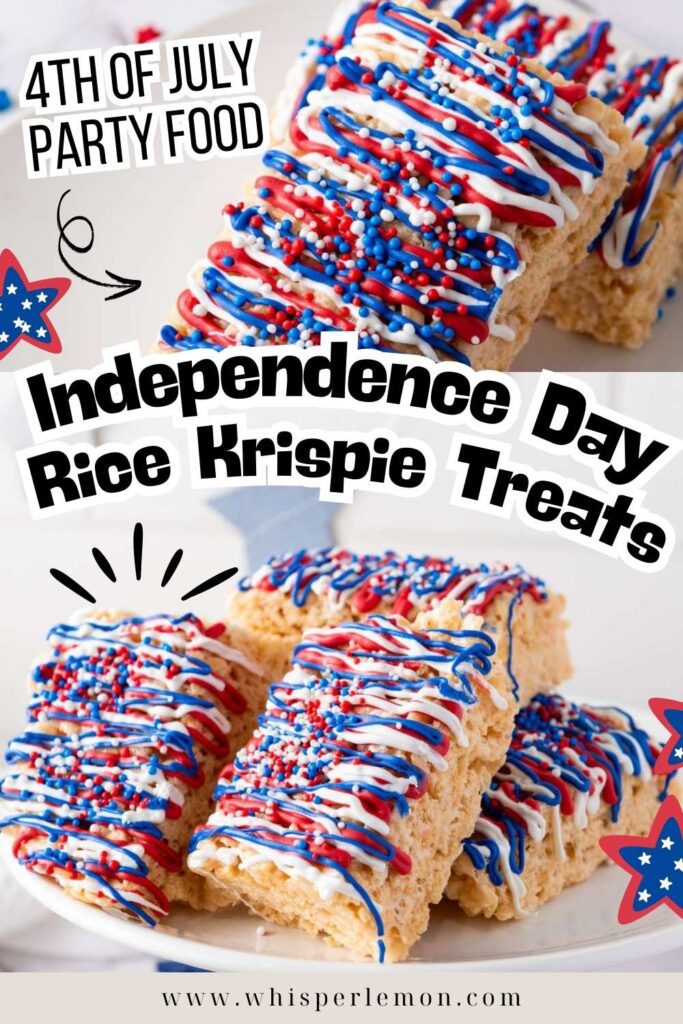
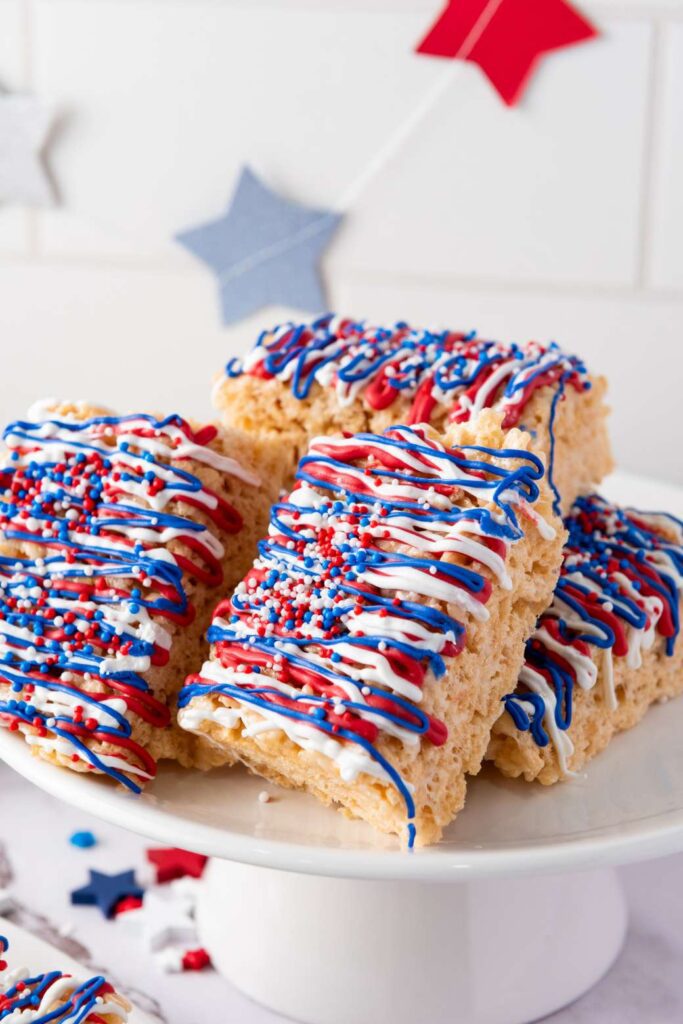
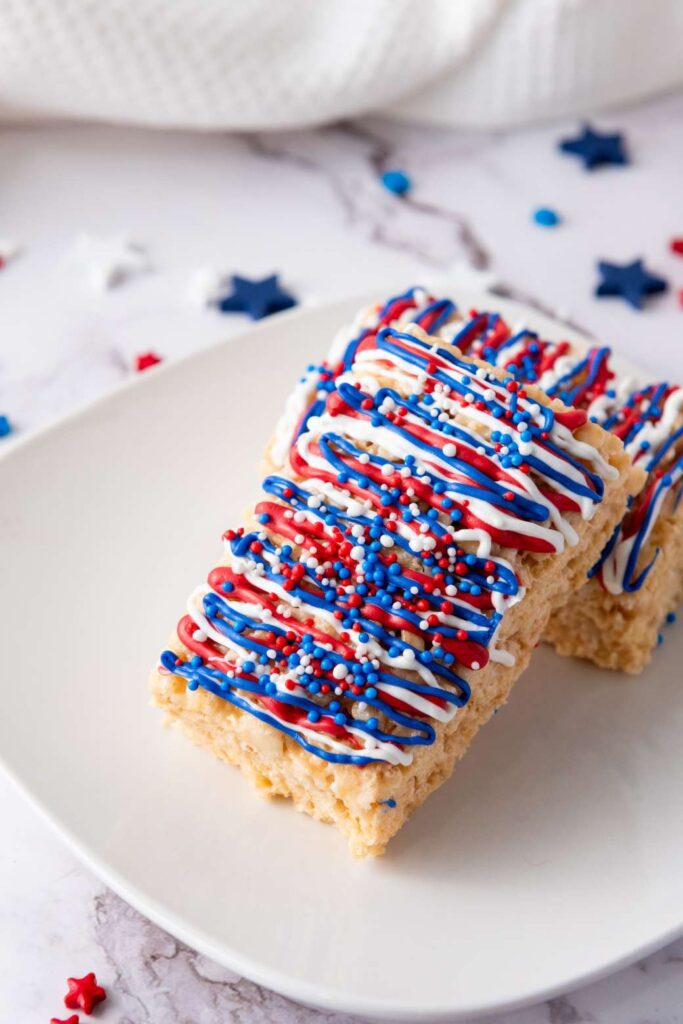
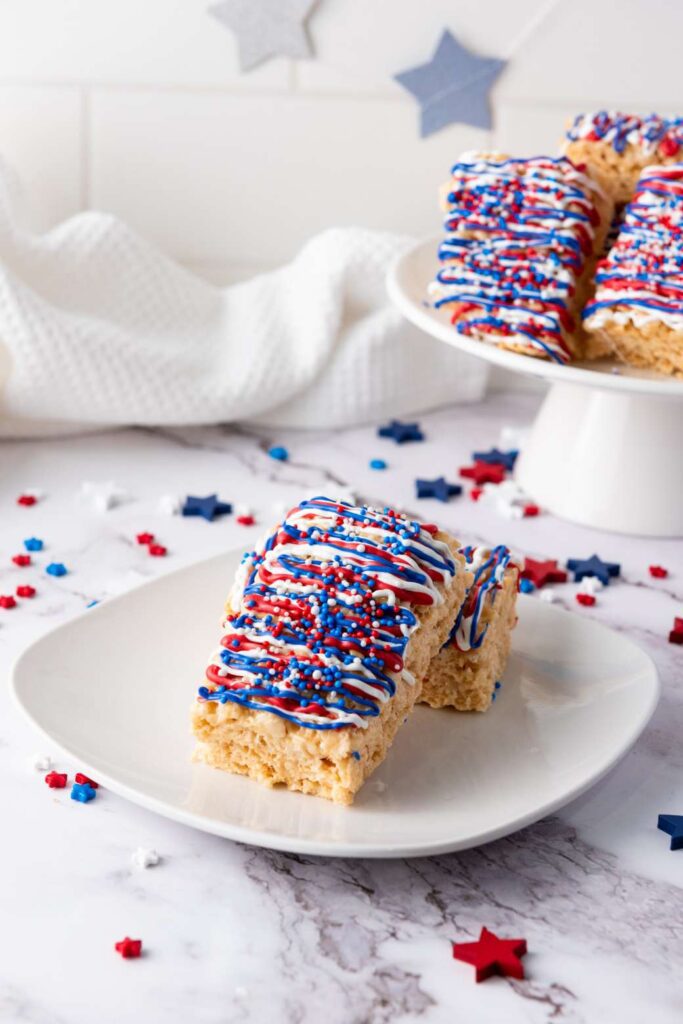
Looking for a fun and festive treat to celebrate Independence Day? These 4th of July Rice Krispie treats are the perfect patriotic food to add to your holiday spread! With their red, white, and blue candy coating, they make a colorful addition to any 4th of July party food lineup.
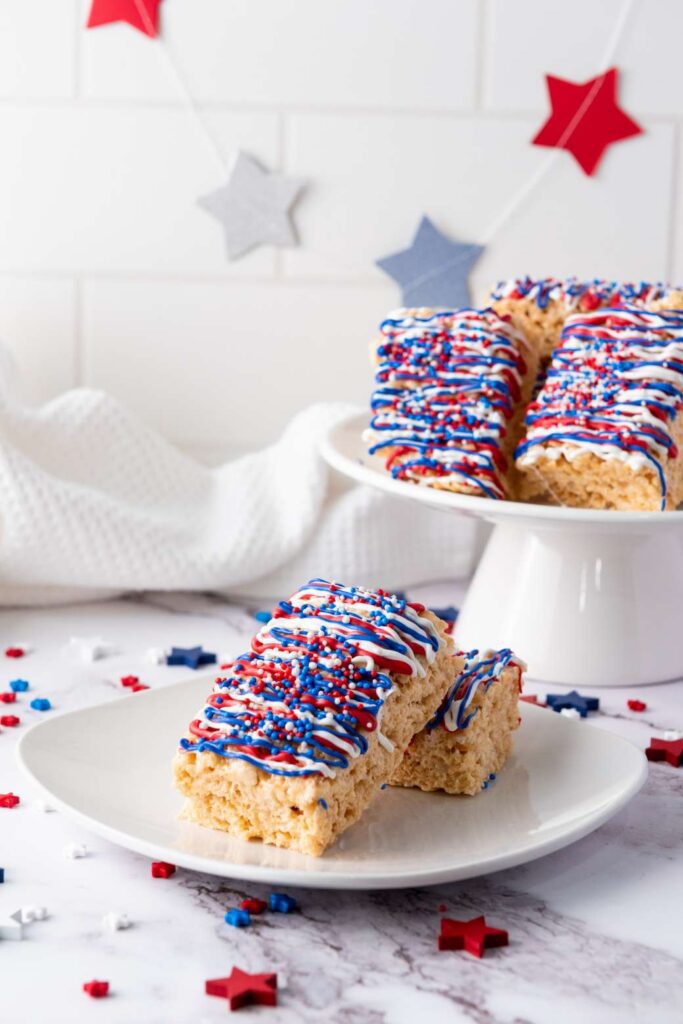
Not only are they simple to make, but they’re also an easy 4th of July finger food that both kids and adults will love. Whether you’re hosting a big backyard BBQ or just looking for creative 4th of July ideas, these Independence Day Rice Krispie treats are a must-try. Let’s get started!
Reasons why you’ll love this recipe♡
- Festive and Eye-Catching – The red, white, and blue candy coating makes these treats a perfect patriotic food for any 4th of July party. They add a fun, colorful touch.
- Easy and Quick to Make – No baking required! With just a few simple steps, you’ll have a delicious treats ready in no time. Perfect for last-minute 4th of July ideas.
- Fun for All Ages – Whether you’re making them with kids or serving them to guests, these 4th of July finger foods are a hit with everyone. Plus, you can customize them with different sprinkles and candy coatings!
Ingredients you’ll need for this recipe
Servings: 9
Step by Step Guide
The base:
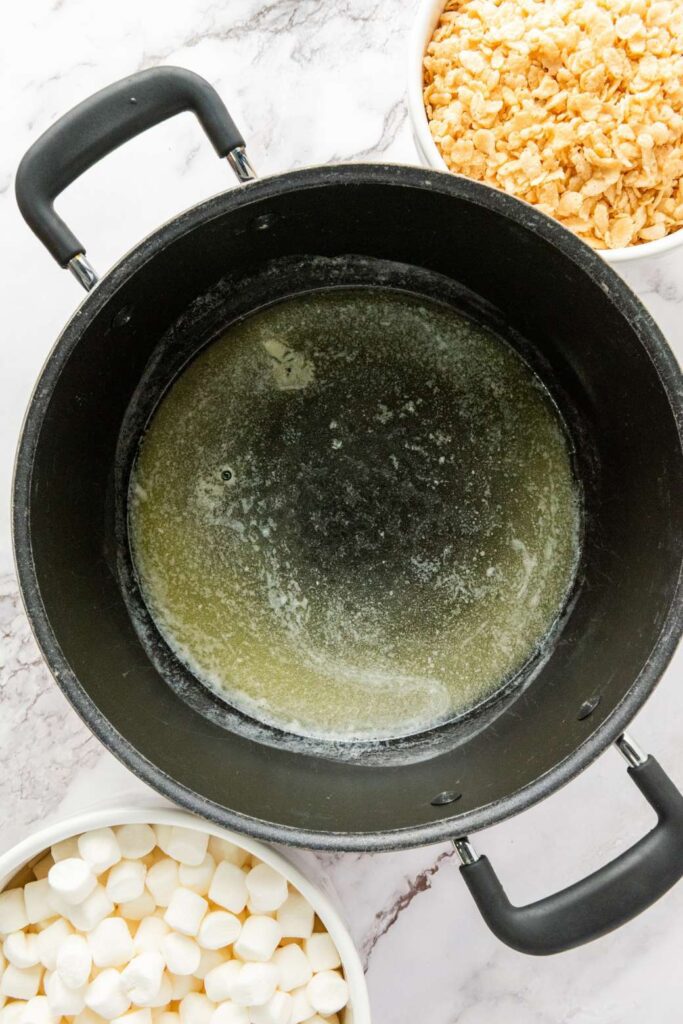
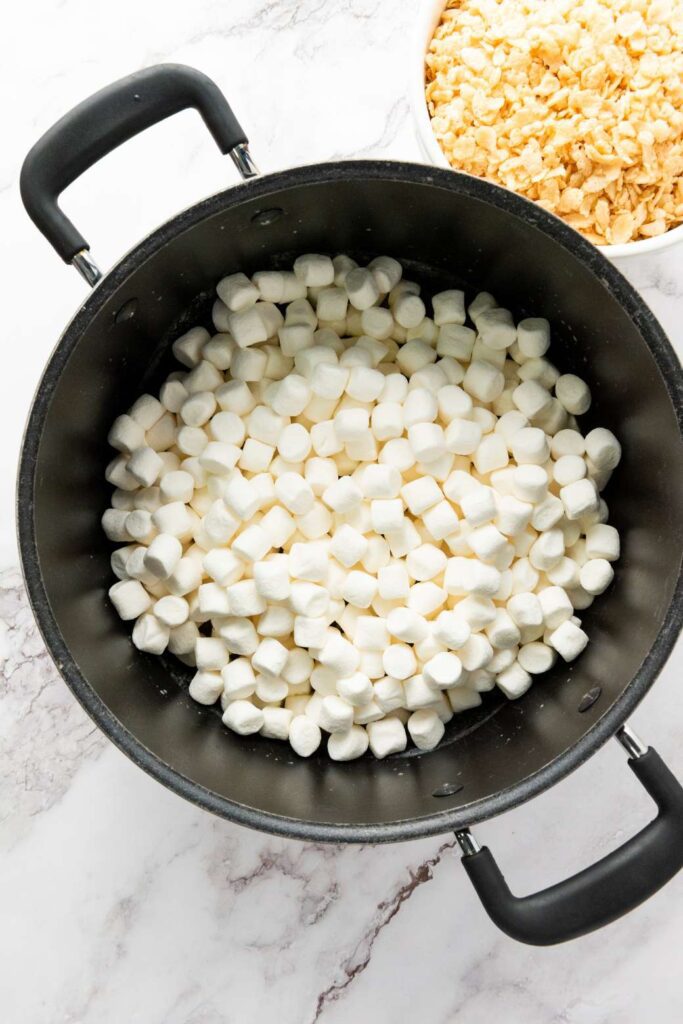
Melt the butter in a large pot over low heat. Add the mini marshmallows, stirring continuously until fully melted and smooth.
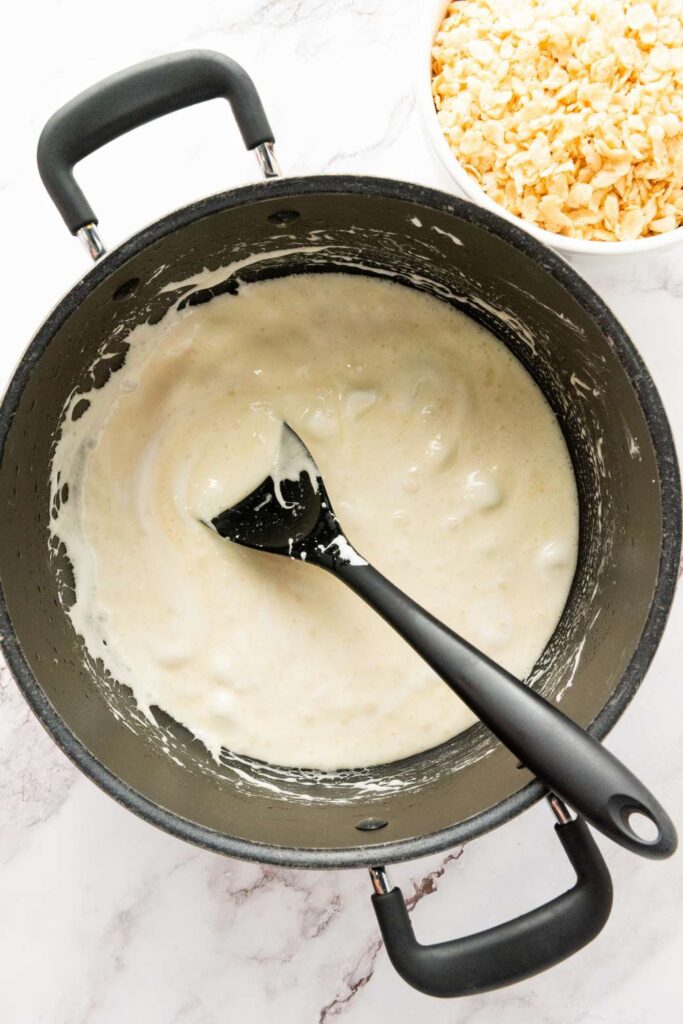
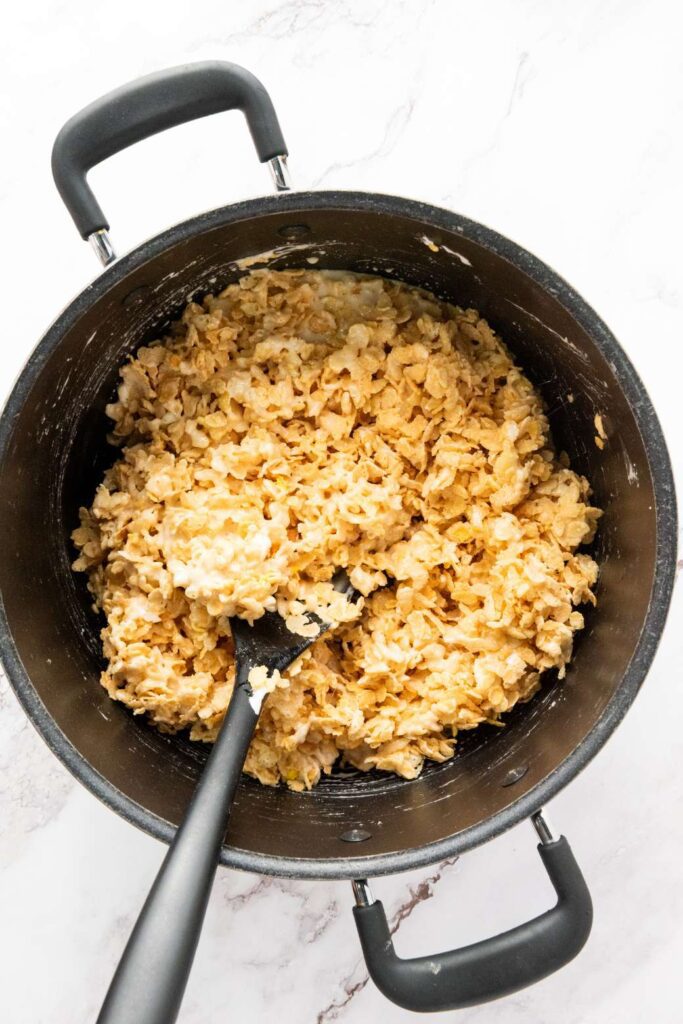
Remove the pot from the heat and immediately fold in the Rice Krispies cereal, ensuring it’s evenly coated.
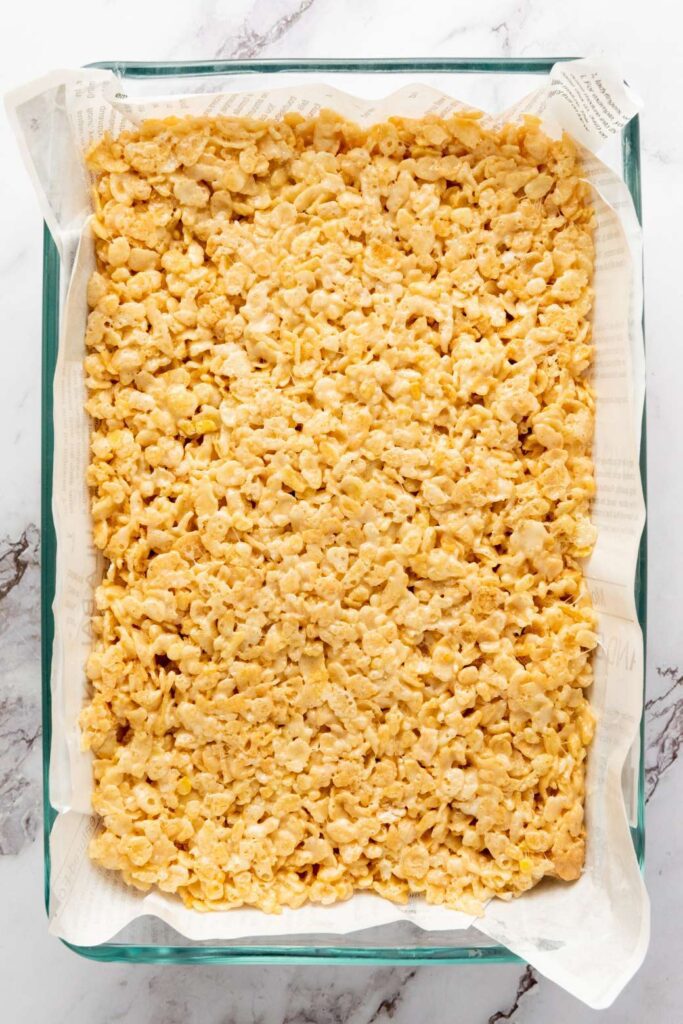
Press the mixture firmly into a parchment-lined or lightly greased 9×13-inch baking pan, spreading it out evenly.
Let the Rice Krispie treat cool and set in the refrigerator for at least an hour.
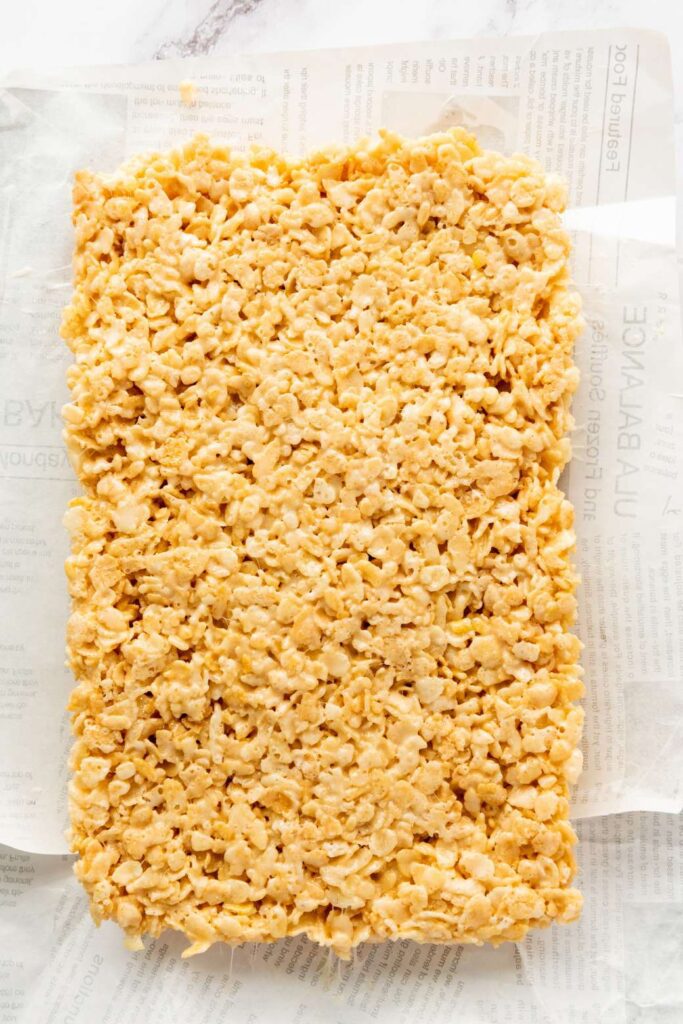
Cutting the treats:
Once the mixture has set, lift it from the pan using the parchment paper edges. Transfer it to a cutting board and slice into squares or rectangles, depending on your preference.
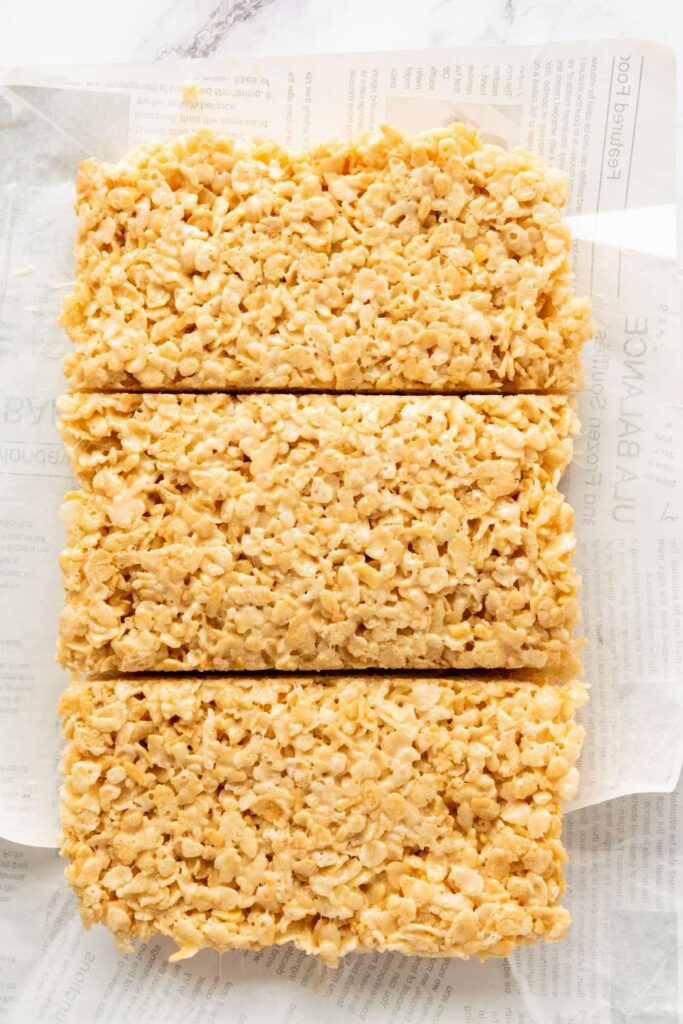
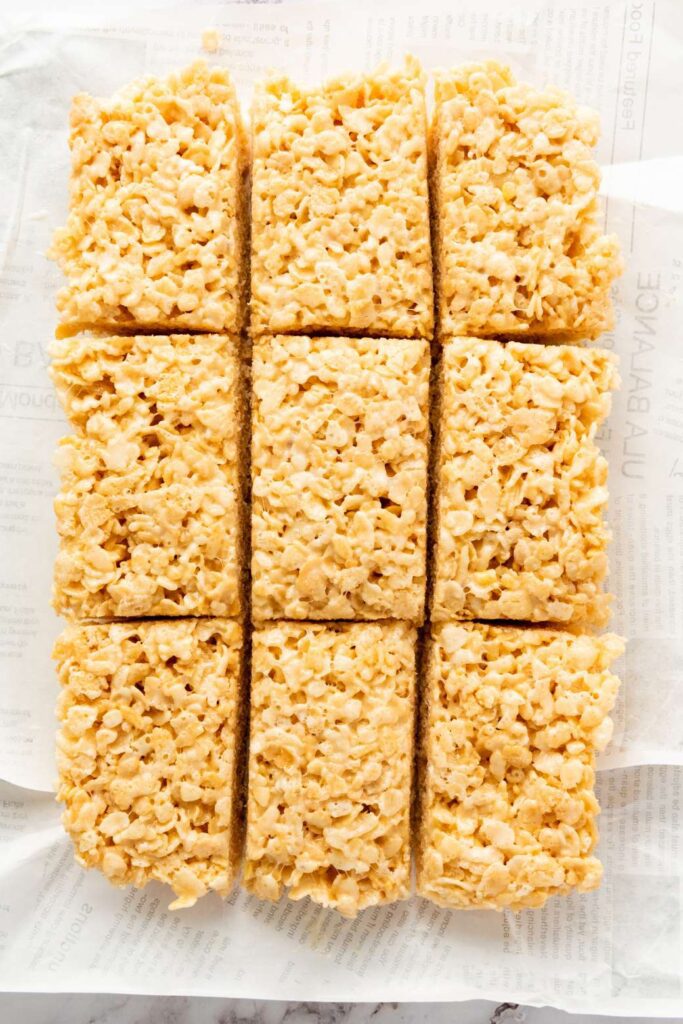
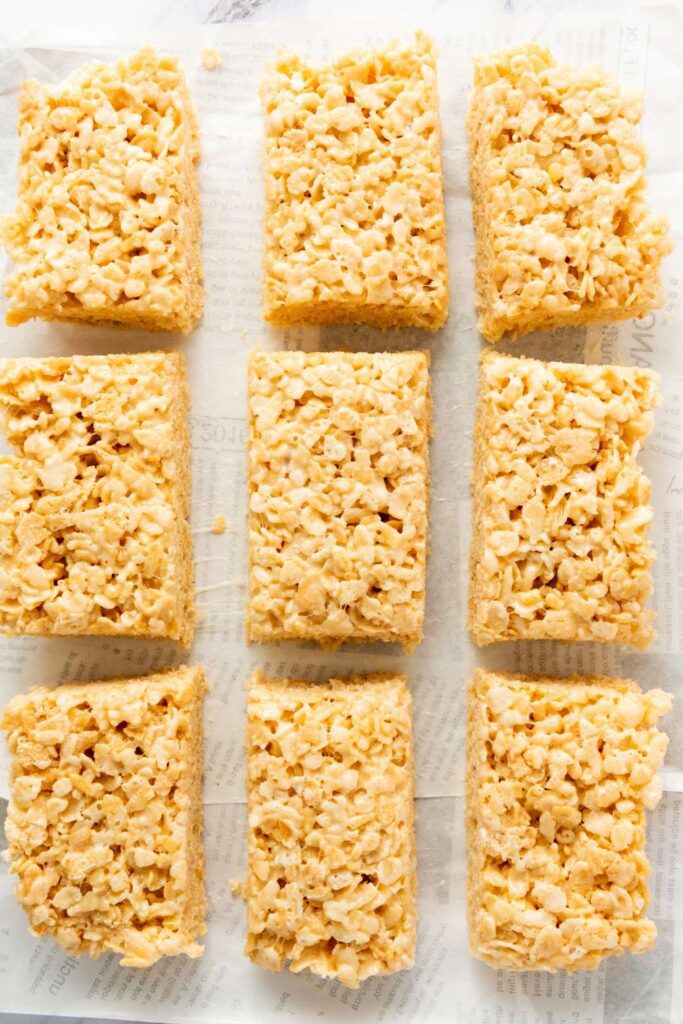
The candy:
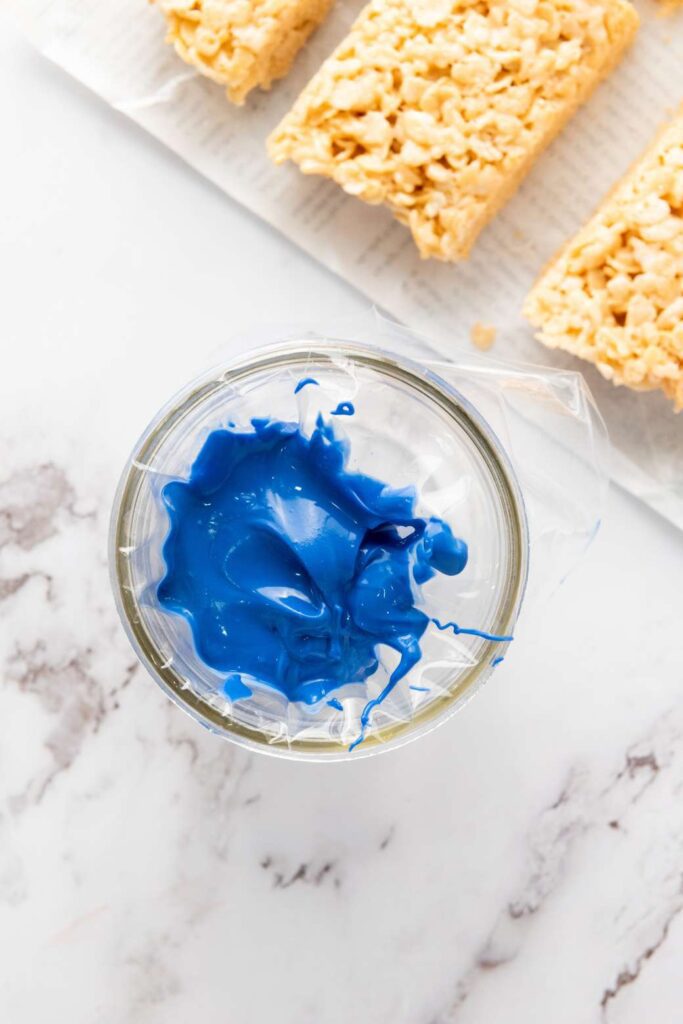
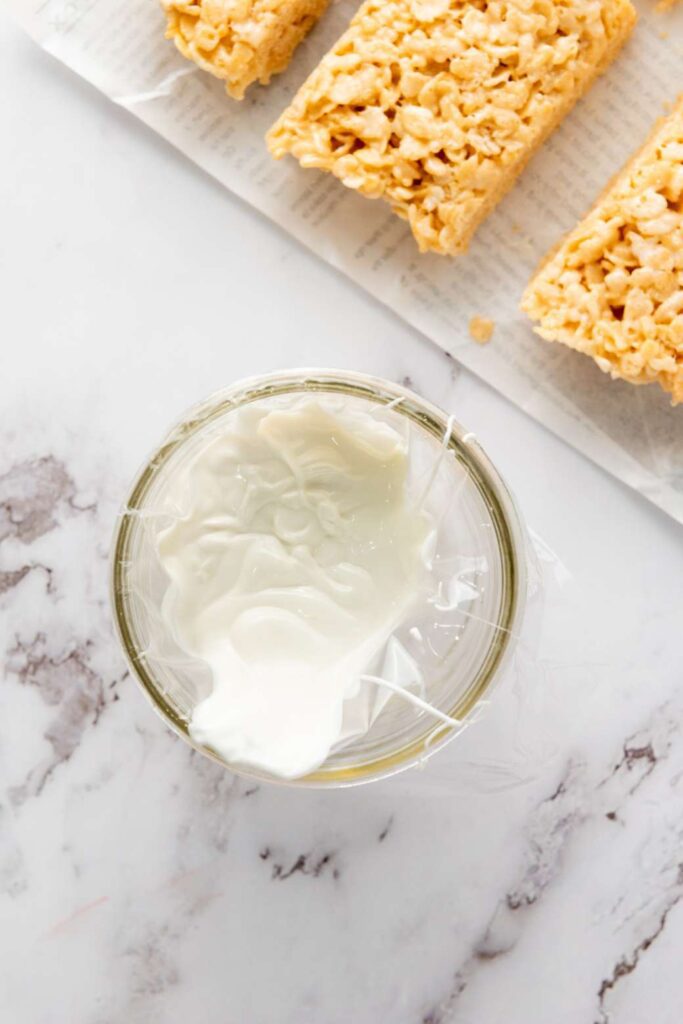
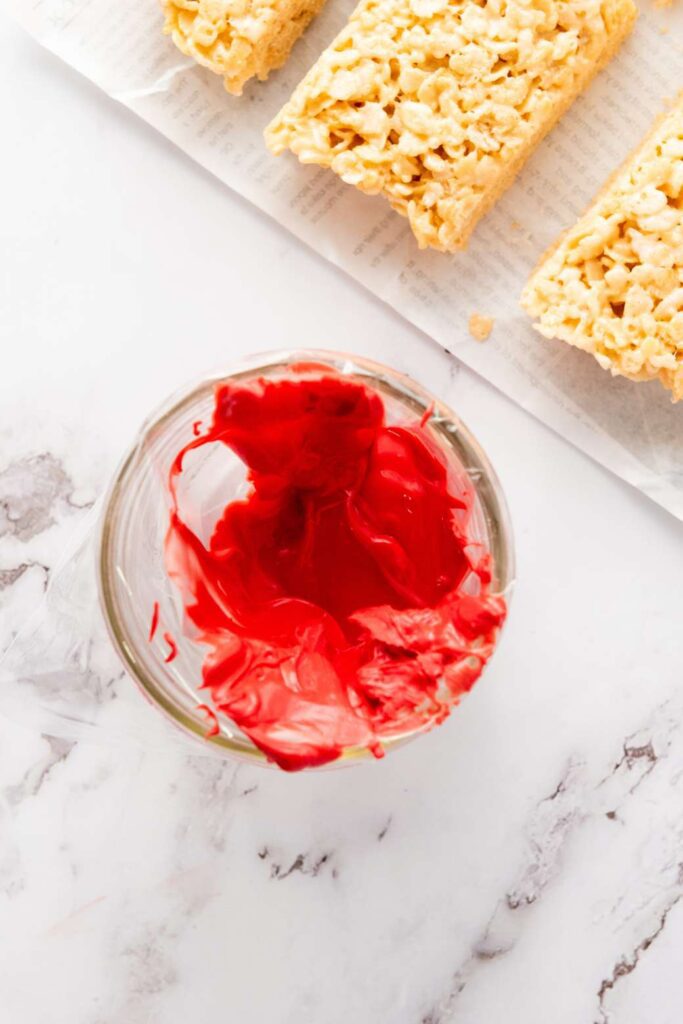
Melt the red, white, and blue candy melts separately, following the instructions on the package. Use deep bowls for easy dipping.
WANT TO SAVE THIS FOR LATER?
Coating:
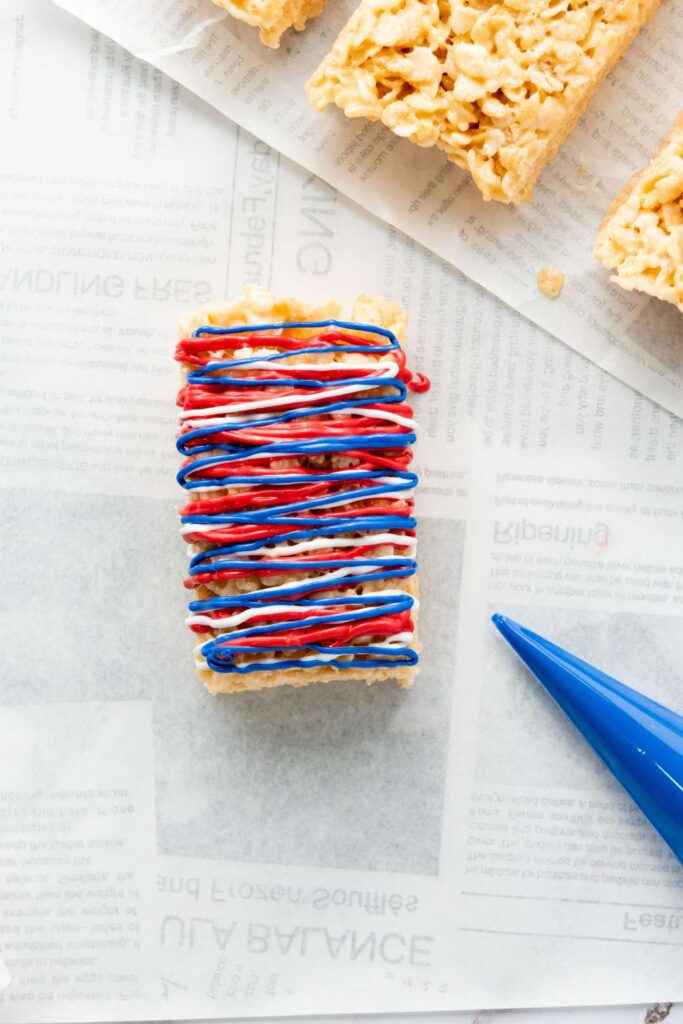
Dip each Rice Krispie square into the melted candy, coating it as much as you like. Let any excess drip off before placing it onto a sheet of parchment paper.
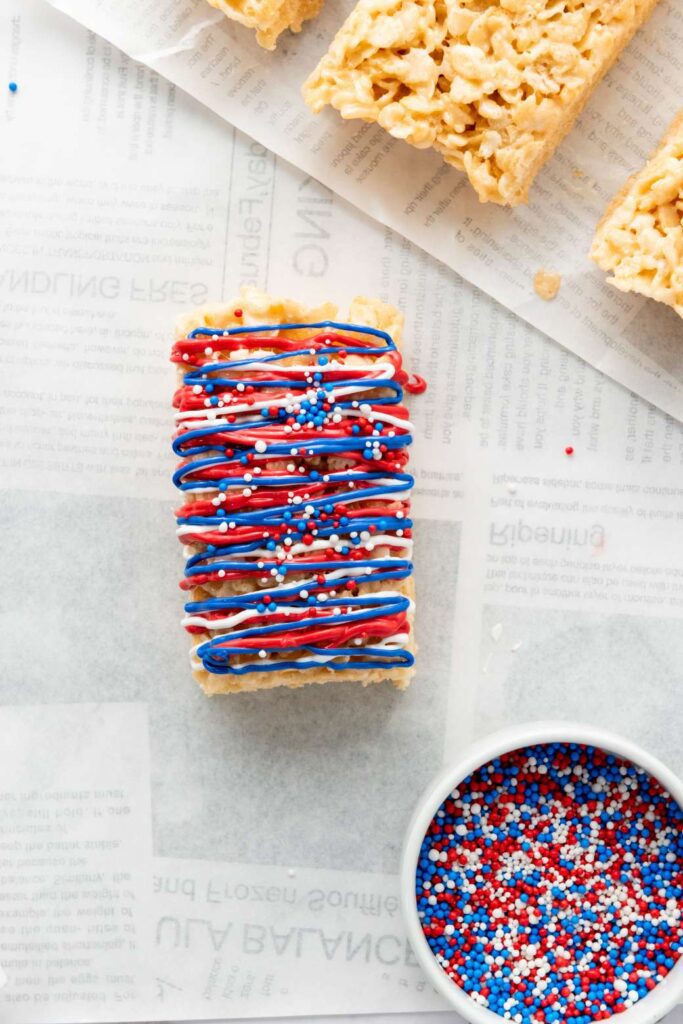
While the coating is still wet, sprinkle on your desired decorations for a festive touch.
Allow the candy coating to fully set at room temperature, or speed up the process by chilling the treats in the refrigerator.
Variation Ideas:
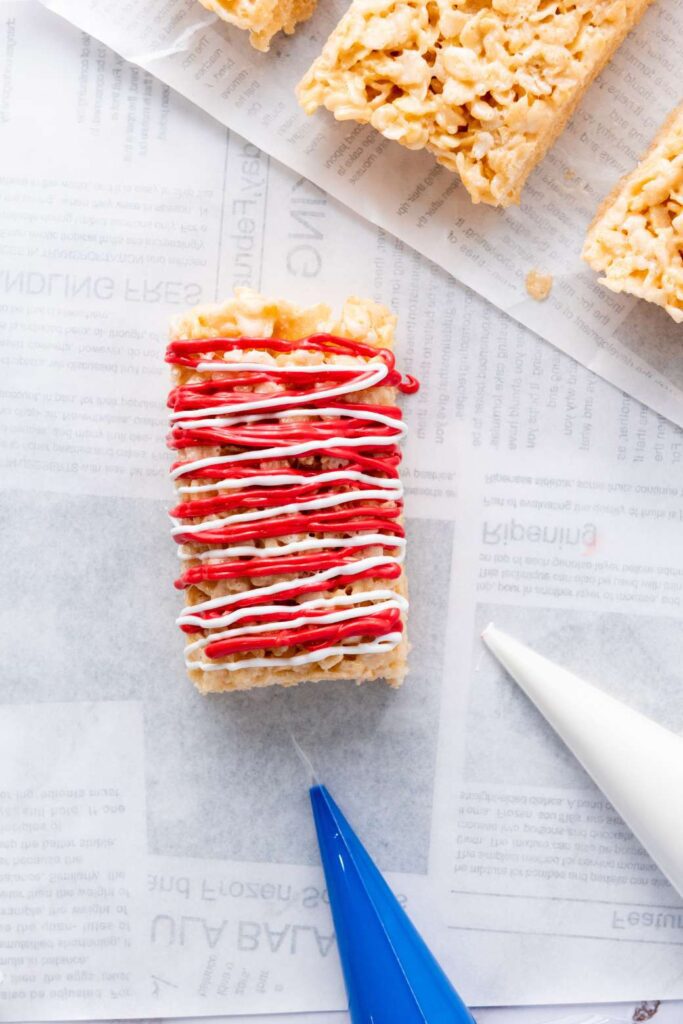
- Chocolate Drizzle – Instead of fully dipping the treats, drizzle melted white, milk, or dark chocolate over them for a decorative and delicious touch.
- Marbled Candy Coating – Swirl the red, white, and blue melted candy together before dipping for a cool marbled effect.
- Sprinkle Mix-Up – Use star-shaped sprinkles, edible glitter, or pop rocks for an extra festive look and fun texture.
- Stuffed Surprise – Mix in mini M&Ms or freeze-dried berries into the Rice Krispie mixture before pressing it into the pan for a pop of flavor and color.
Recipe FAQ
Q: Can I make these 4th of July Rice Krispie Treats ahead of time?
A: Yes! You can prepare them 1–2 days in advance. Store them in an airtight container at room temperature or in the fridge to keep them fresh.
Q: How do I keep my Rice Krispie treats from getting too hard?
A: Melt the marshmallows over low heat and avoid overpacking the mixture into the pan. Using fresh marshmallows also helps keep them soft and chewy.
Q: What’s the best way to cut Rice Krispie treats cleanly?
A: Use a sharp knife coated with a little butter or nonstick spray. You can also chill the treats slightly before cutting for cleaner edges.
Q: Can I use chocolate instead of candy melts?
A: Yes! White chocolate or colored candy melts both work great. Just be sure to melt chocolate gently to avoid burning.
Q: How do I prevent my hands from sticking when pressing the mixture into the pan?
A: Lightly grease your hands with butter or nonstick spray, or press the mixture down using a piece of parchment paper.
Q: Can I make these without butter?
A: Yes! You can substitute coconut oil or margarine for butter, but it may slightly alter the flavor.
Q: Do I need to refrigerate the treats after dipping them in candy melts?
A: It’s optional! Let them set at room temperature or refrigerate them for a quicker setting time.
Q: Can I make these treats gluten-free?
A: Yes! Just be sure to use gluten-free crispy rice cereal and check that your marshmallows and candy melts are gluten-free.
Q: What’s the best way to store leftovers?
A: Keep them in an airtight container at room temperature for up to 3 days or in the fridge for up to a week.
Q: Can I freeze these Rice Krispie treats?
A: Yes! Wrap them tightly in plastic wrap and store them in an airtight container for up to a month. Let them come to room temperature before serving.
Q: How can I make these treats even more festive?
A: Try layering red, white, and blue Rice Krispie mixtures, using patriotic sprinkles, or drizzling extra candy melts in fun patterns.
Q: Can I use different cereal instead of Rice Krispies?
A: Yes! Try cornflakes, Cheerios, or Cocoa Krispies for a fun twist on the classic recipe.
Q: How do I make these treats less sweet?
A: Reduce the amount of marshmallows slightly, or use dark chocolate instead of candy melts to balance the sweetness.
Independence Rice Krispie Treats
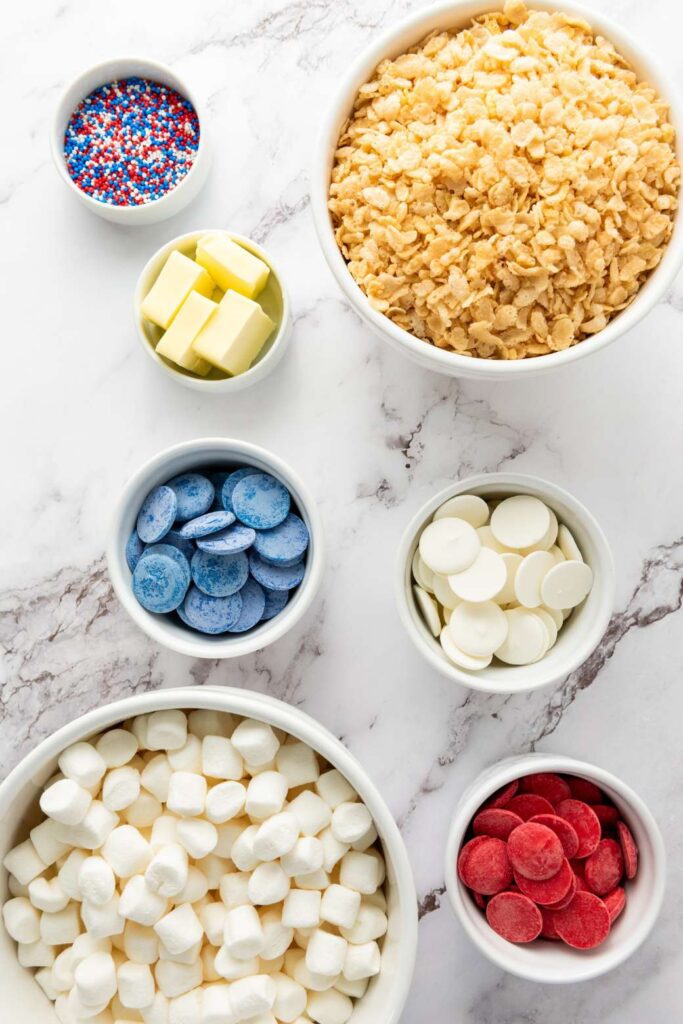
Ingredients
- 5 cups rice Krispies cereal
- 4 cups mini marshmallows (around 10 oz)
- 1/2 cup blue candy melts
- 1/2 cup red candy melts
- 1/2 cup white candy melts
- 1/4 cup butter
- sprinkles example: blue, red, white, stars
Instructions
The base:
- Melt the butter in a large pot over low heat. Add the mini marshmallows, stirring continuously until fully melted and smooth.
- Remove the pot from the heat and immediately fold in the Rice Krispies cereal, ensuring it's evenly coated.
- Press the mixture firmly into a parchment-lined or lightly greased 9×13-inch baking pan, spreading it out evenly.
- Let the Rice Krispie treat cool and set in the refrigerator for at least an hour.
Cutting the treats:
- Once the mixture has set, lift it from the pan using the parchment paper edges. Transfer it to a cutting board and slice into squares or rectangles, depending on your preference.
The candy:
- Melt the red, white, and blue candy melts separately, following the instructions on the package. Use deep bowls for easy dipping.
Coating:
- Dip each Rice Krispie square into the melted candy, coating it as much as you like. Let any excess drip off before placing it onto a sheet of parchment paper.
- While the coating is still wet, sprinkle on your desired decorations for a festive touch.
- Allow the candy coating to fully set at room temperature, or speed up the process by chilling the treats in the refrigerator.
WANT TO SAVE THIS FOR LATER?
